Creating a new medical records request is quick and easy with ChartRequest. It only takes around 10 minutes, depending on the number of custodians from whom you need to request records.
Begin by logging in to your account on the ChartRequest platform.
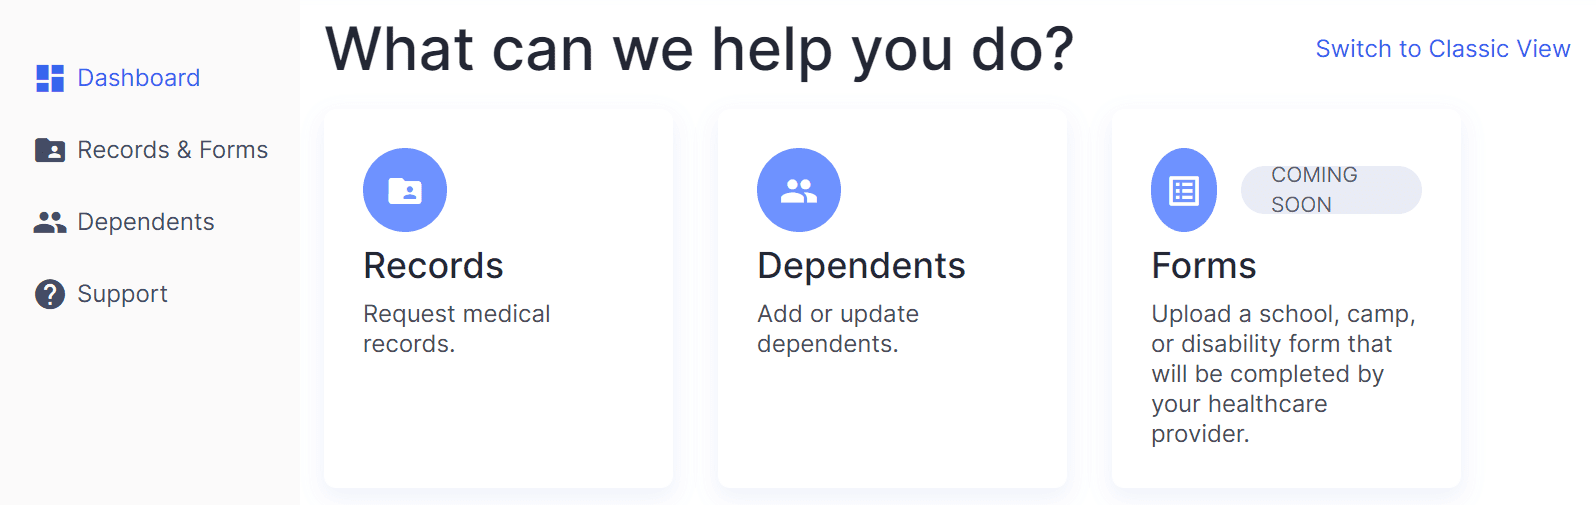
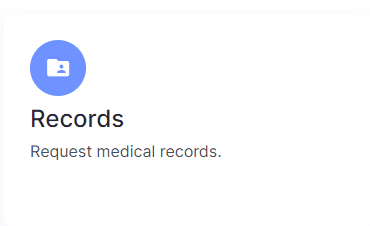
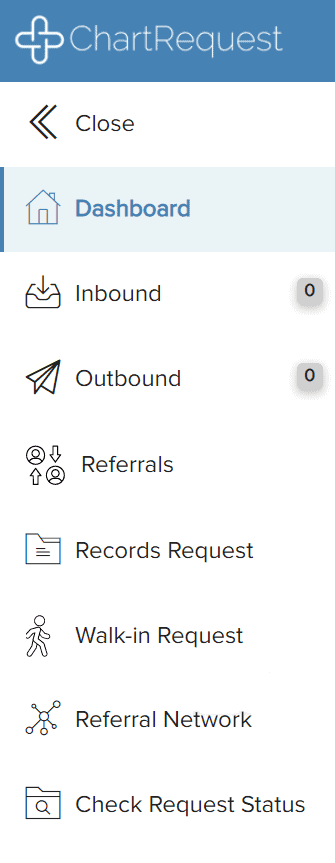
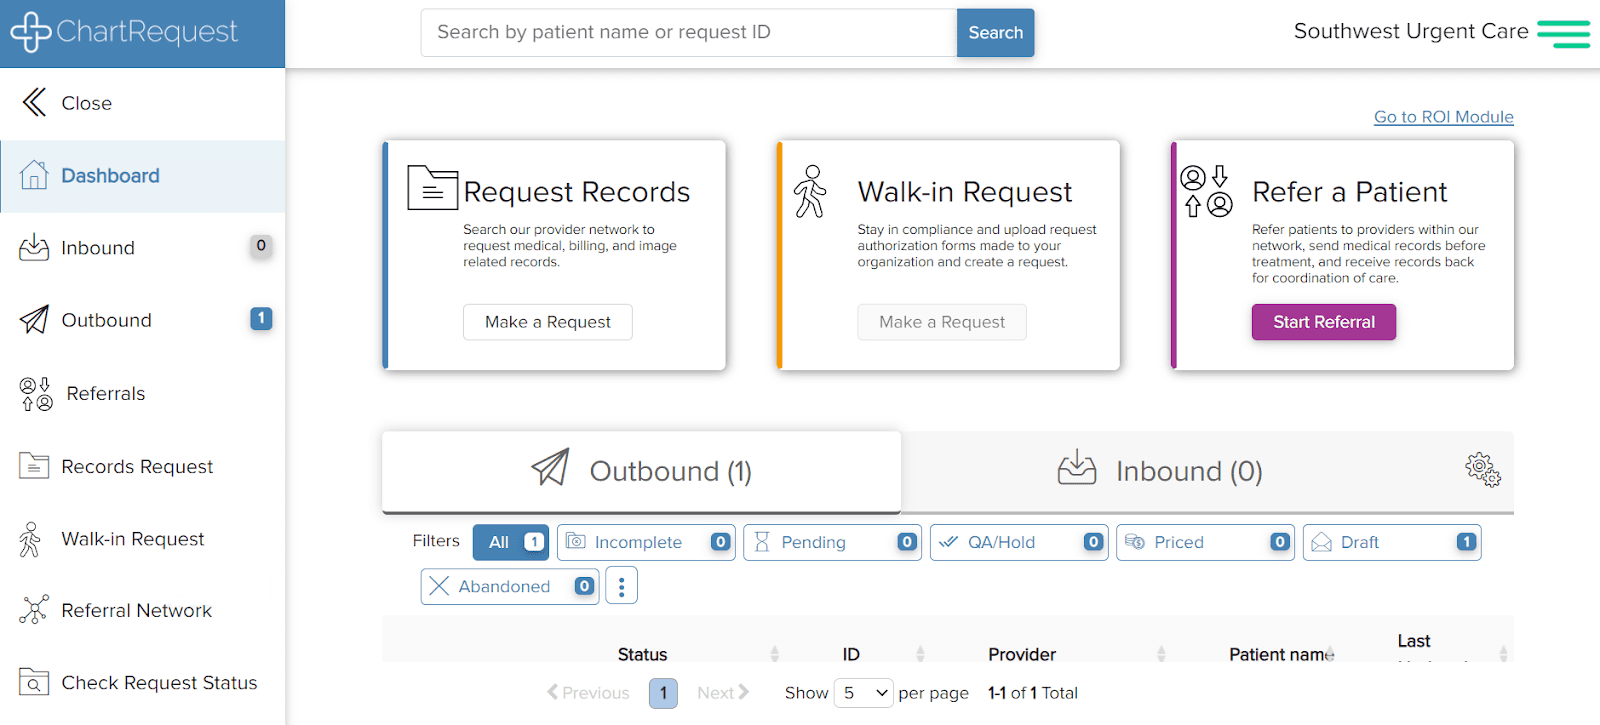
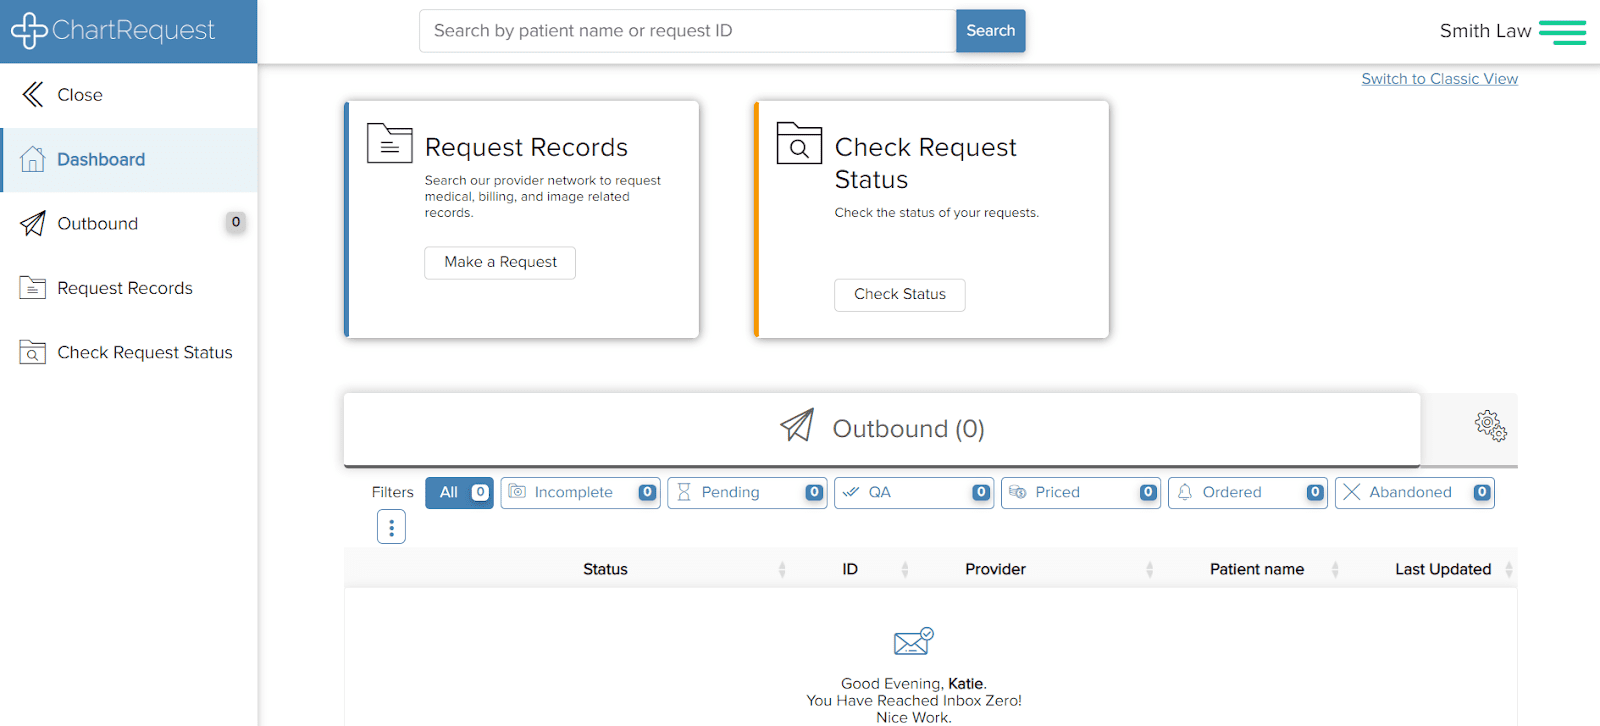
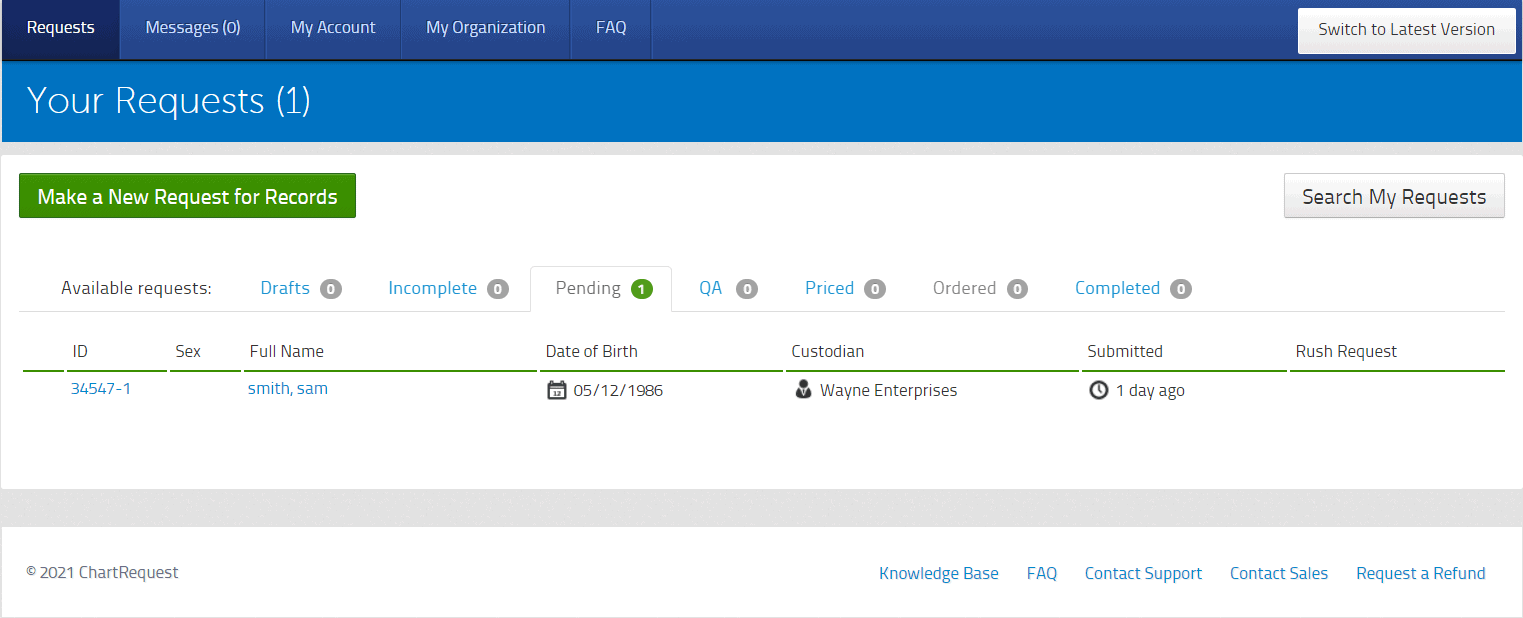
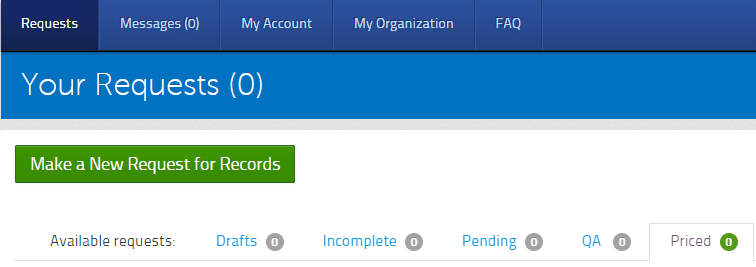
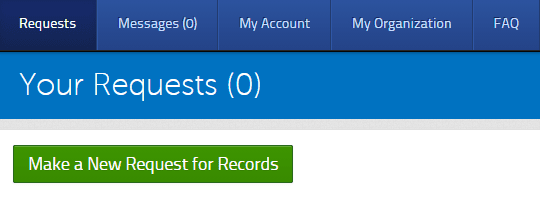
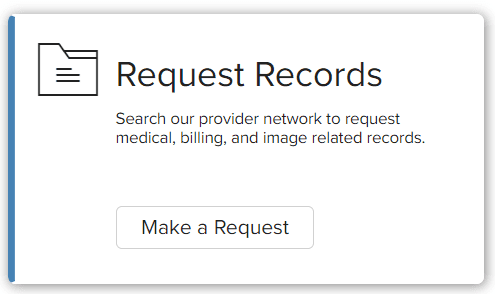
From the dashboard, you can request records or check the status of a request. Click “Make a Request” in the “Request Records” section at the top left of the screen.
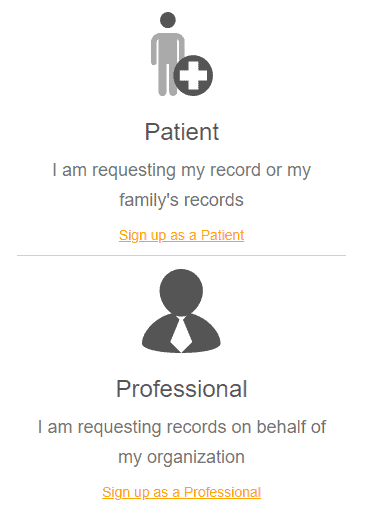
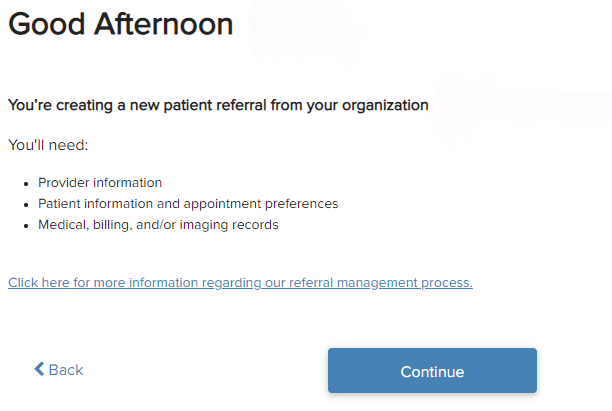
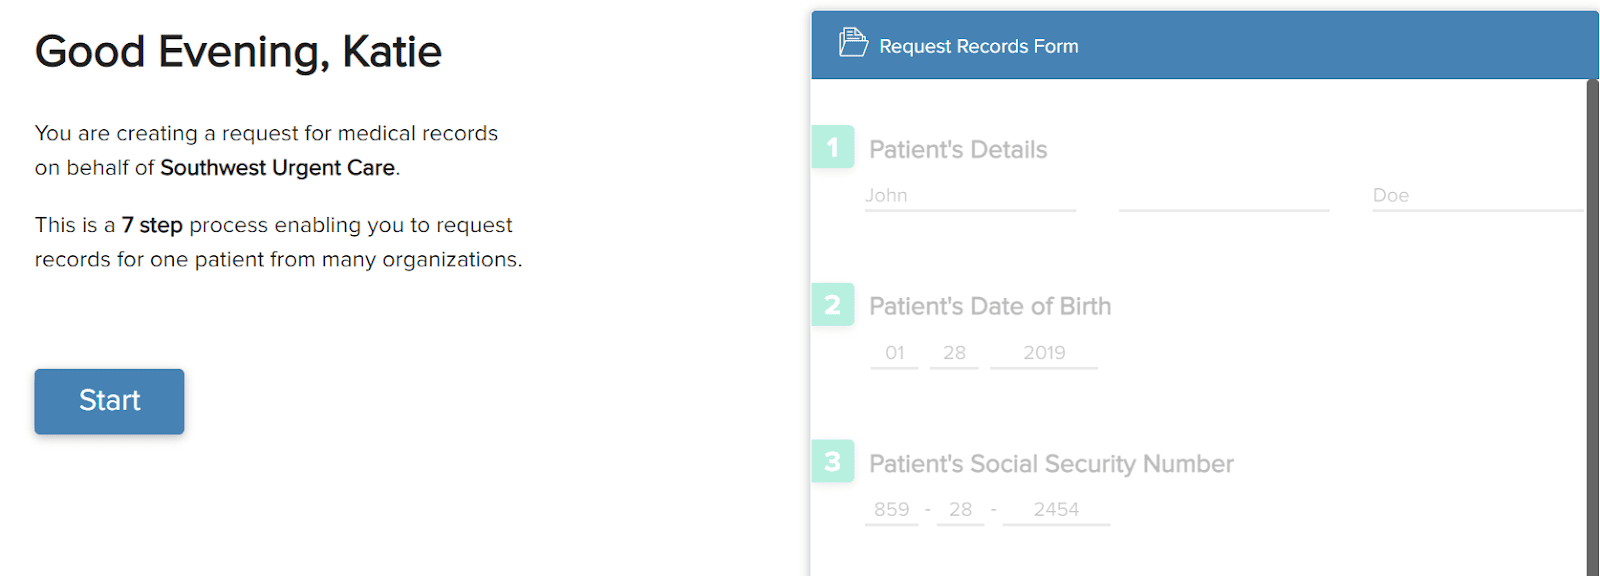
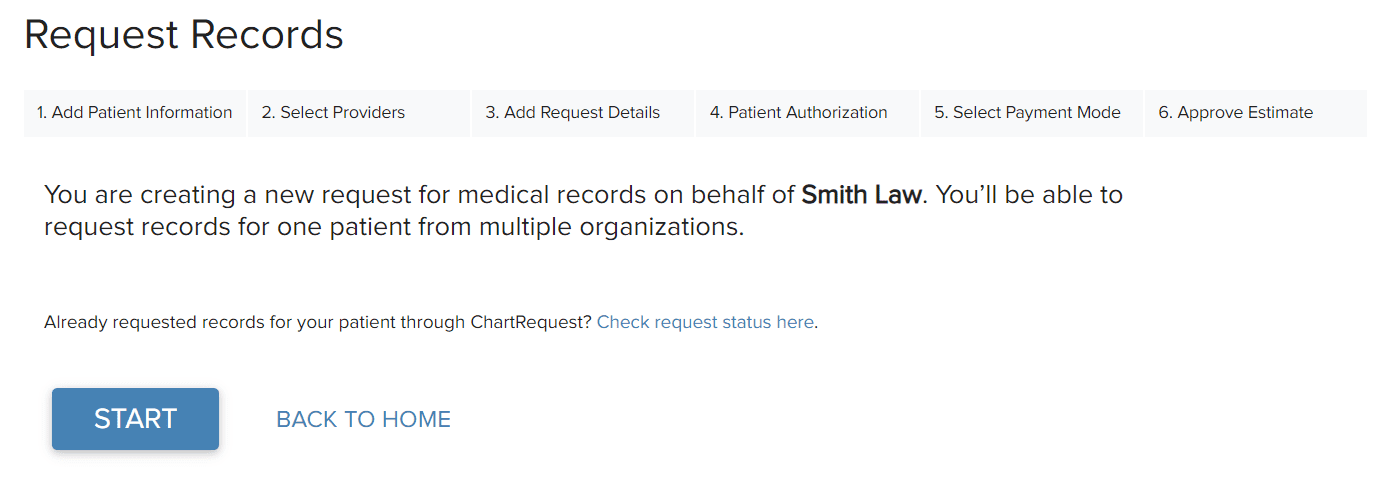
You’ll see a message stating that you’re creating a new request for medical records on behalf of your firm. You’ll also see that you can request records for one patient from multiple organizations at the same time.
When you’re ready to begin making a request, click “Start.”
On the next screen, you’ll see a progress bar with light gray tabs at the top of the page. Tabs will turn blue as you complete their corresponding steps in the request creation process:
- Add patient information
- Select providers
- Add request details
- Upload authorization
- Select payment method
- Approve estimate
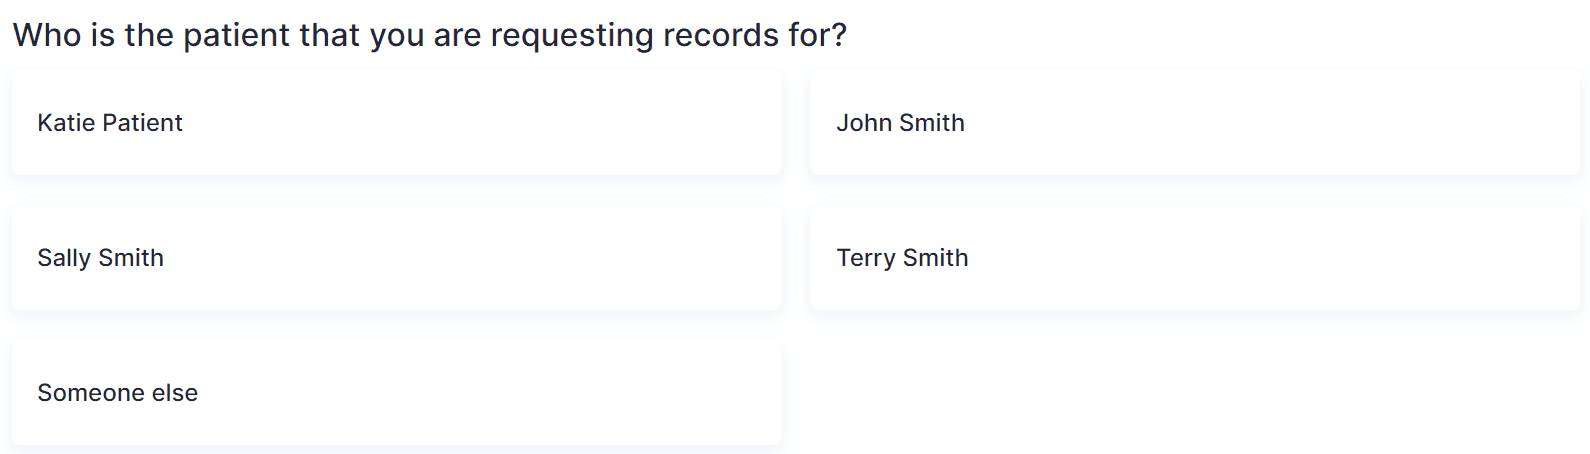
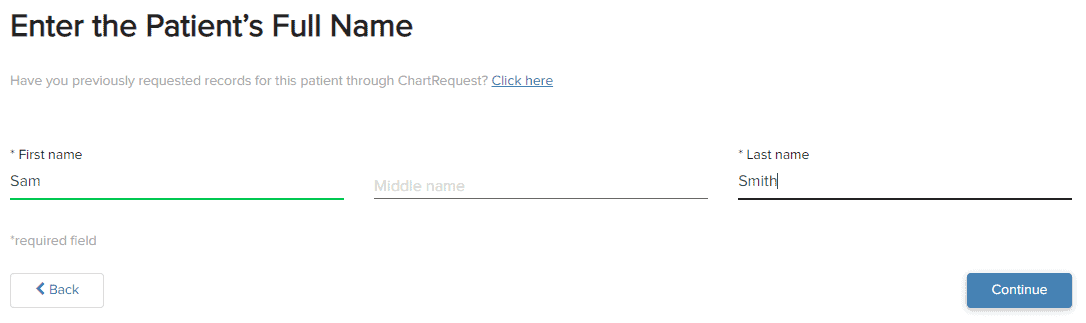
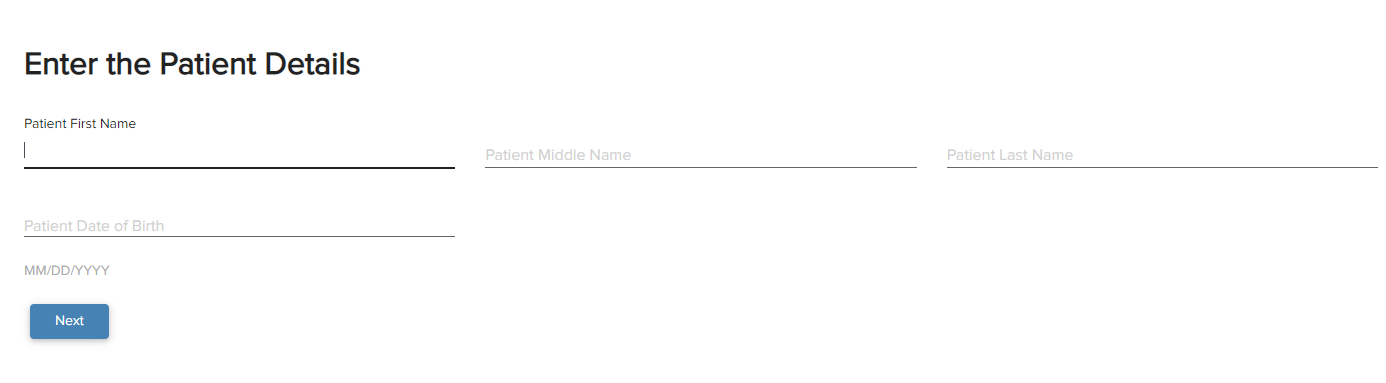
Step 1: Add Patient Information:
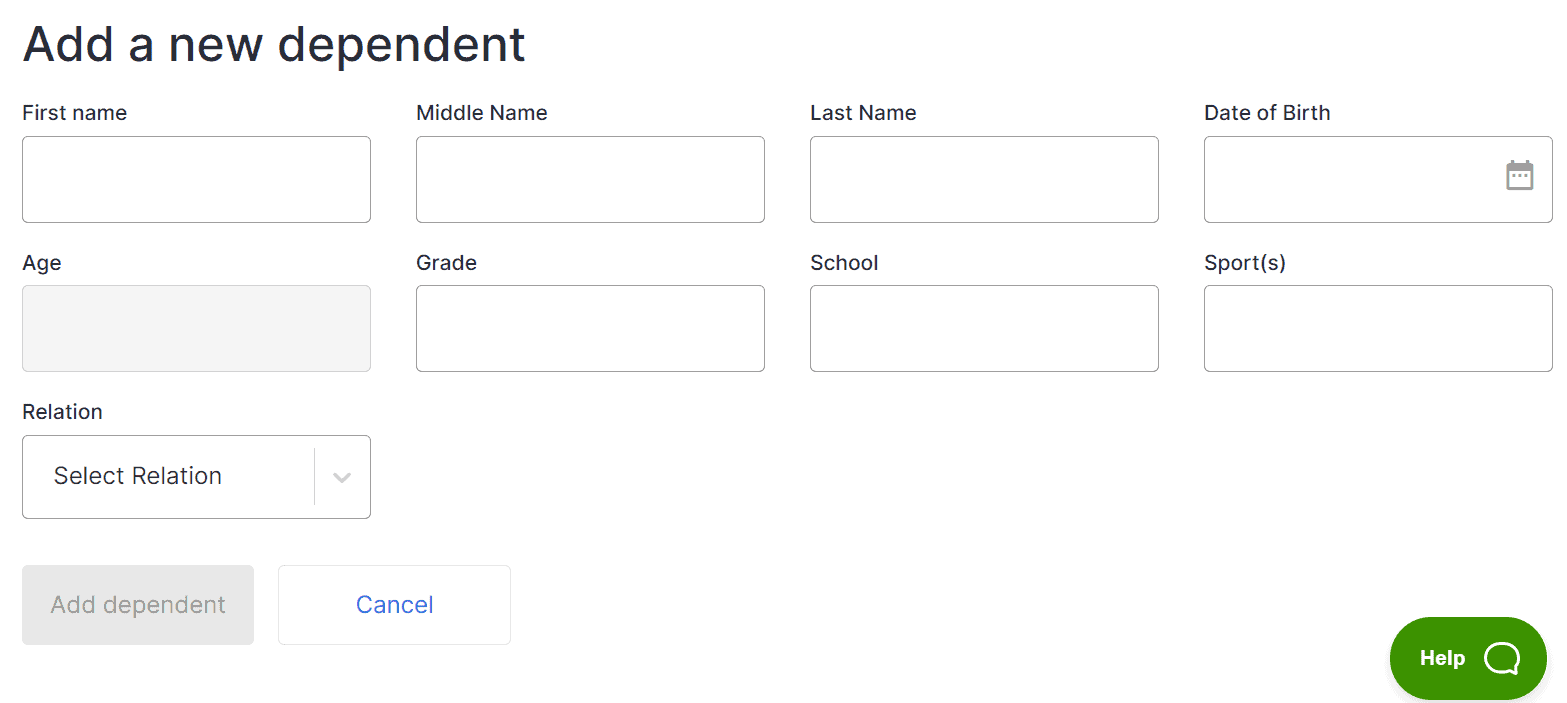
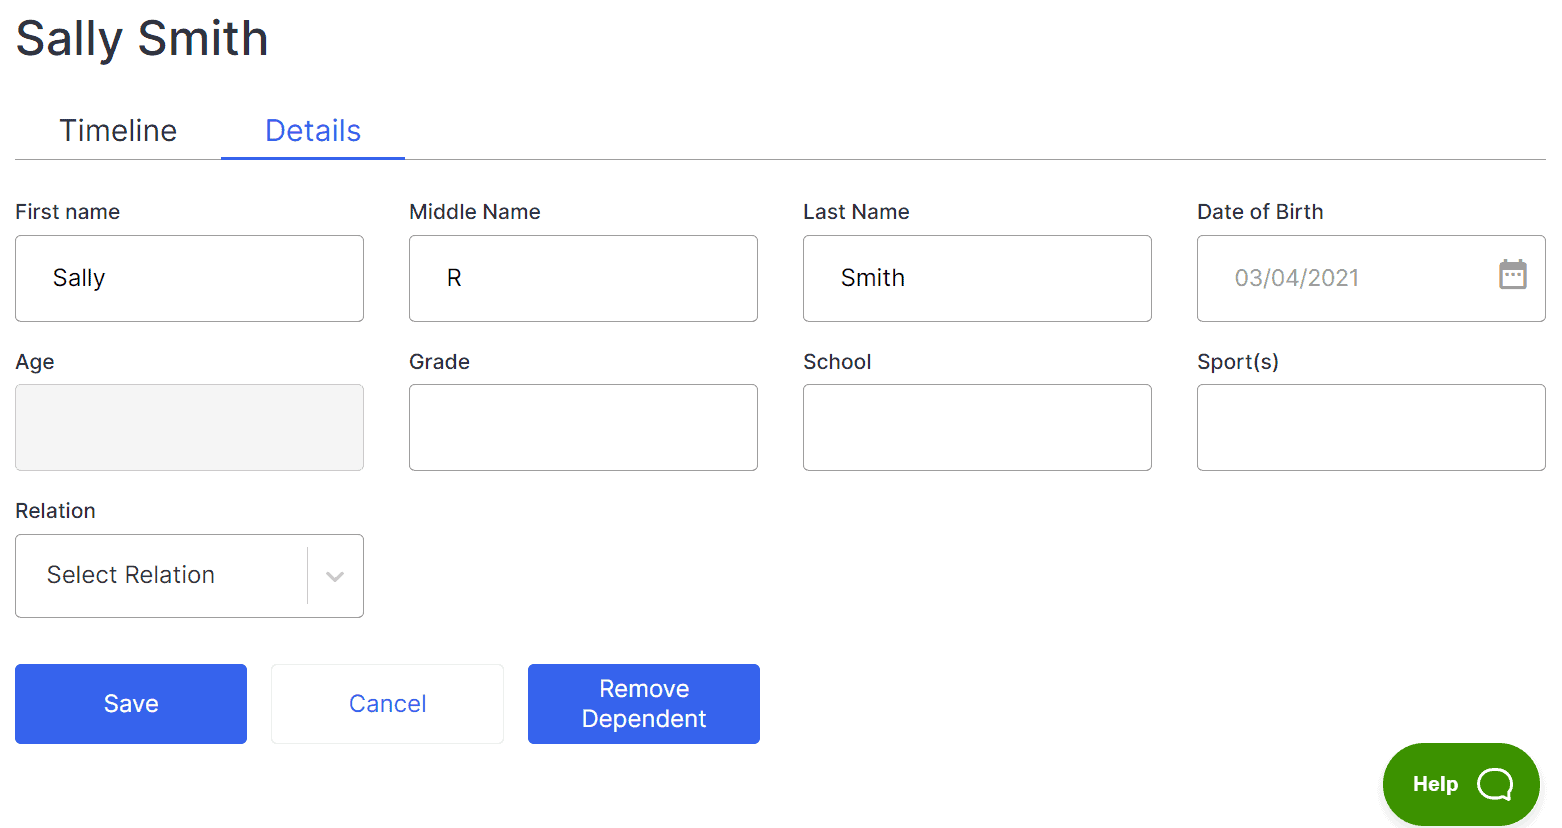
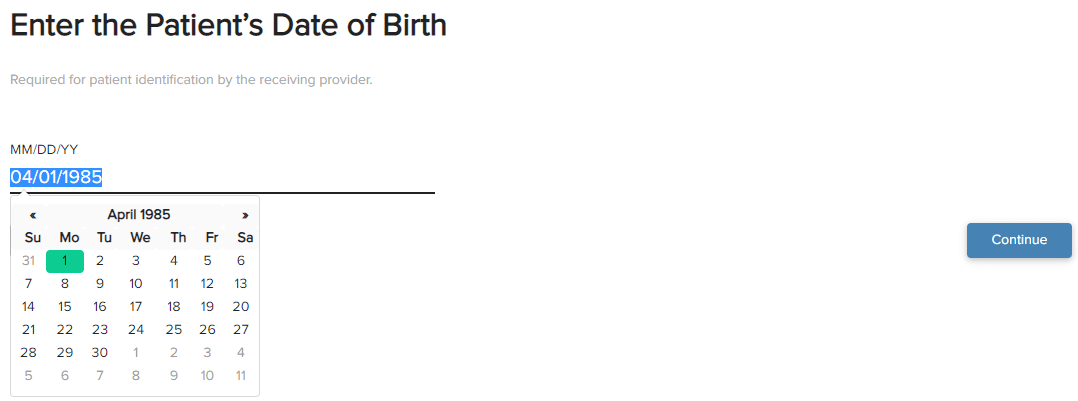
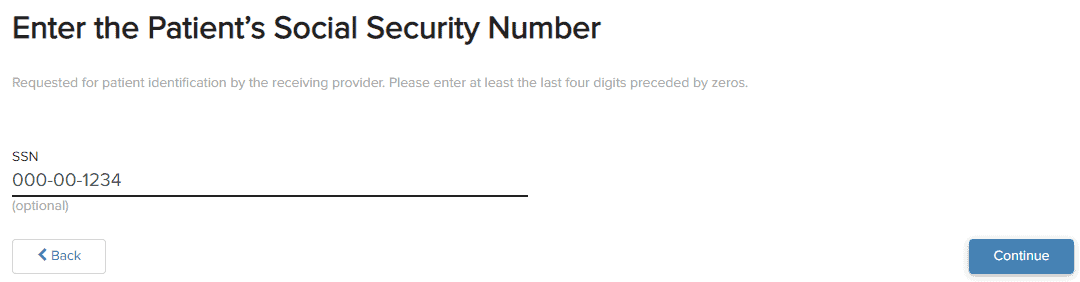
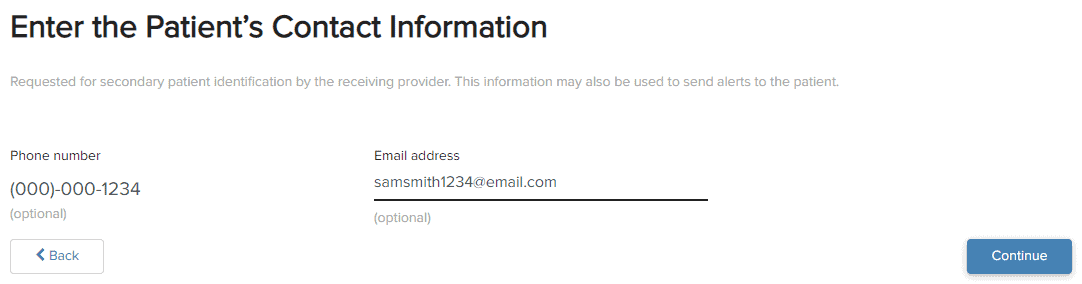
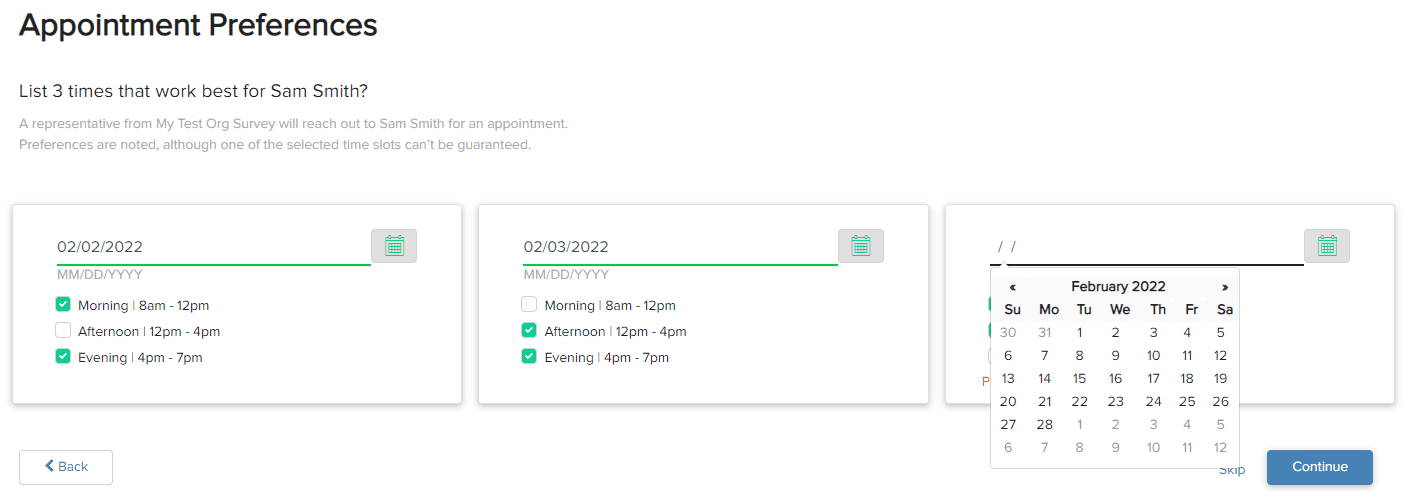
Enter the patient’s first and last names, their middle name is optional. Enter the patient’s date of birth. Use the format MM/DD/YYYY, or click the empty field to bring up a calendar and select the appropriate date. In addition, you can provide the patient’s social security number, phone number, and email address to help expedite your request.

Click “Next,” even if you do not wish to enter this information. You’ll be prompted to enter case reference information such as a tracking number or case number. This field is optional and is intended for internal use for your firm. The tracking or case number will be visible in the request details after you submit the request.
Click “Continue’ to proceed to the next screen.
Step 2: Select Providers
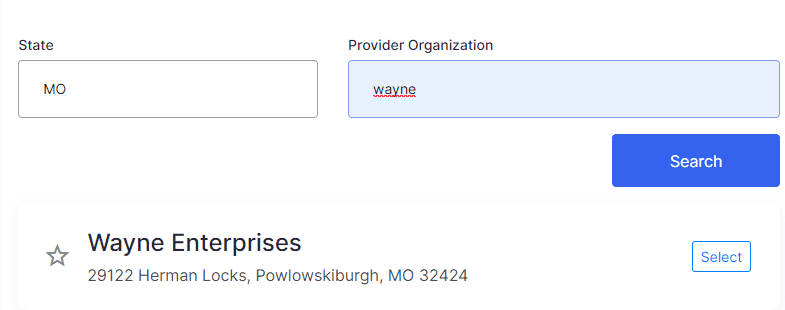
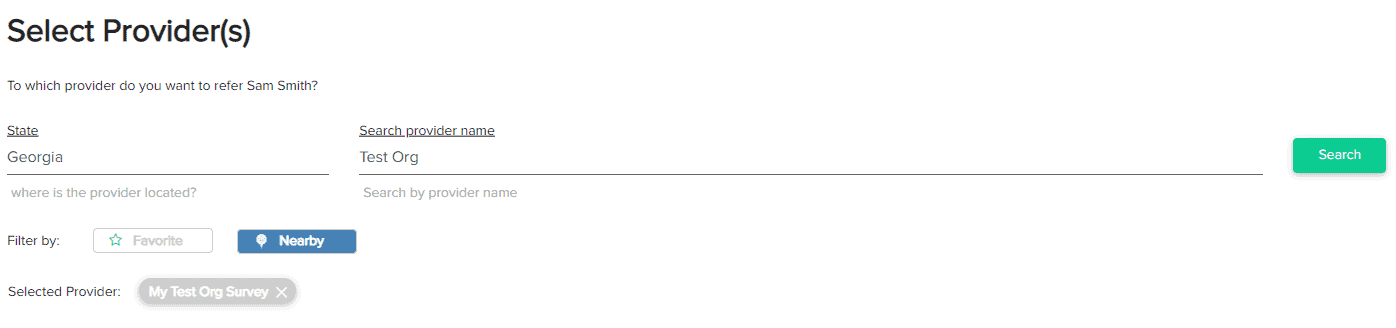
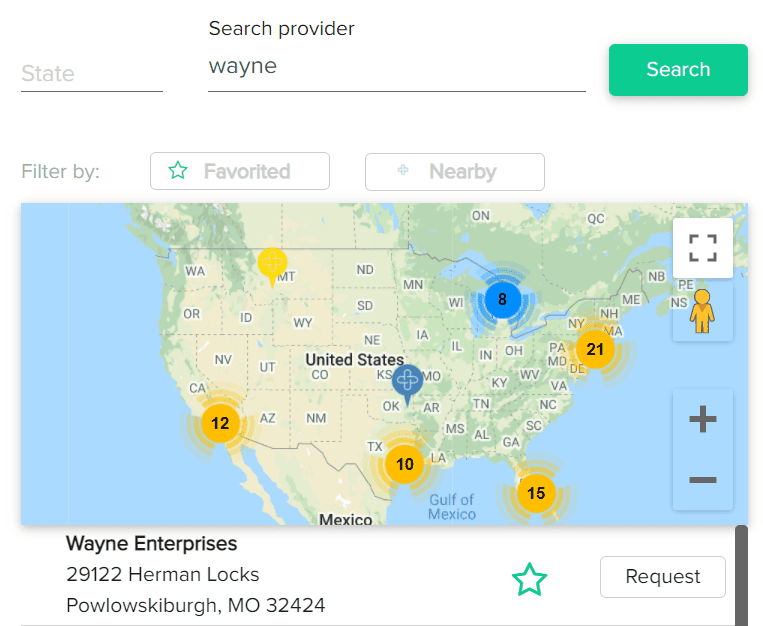
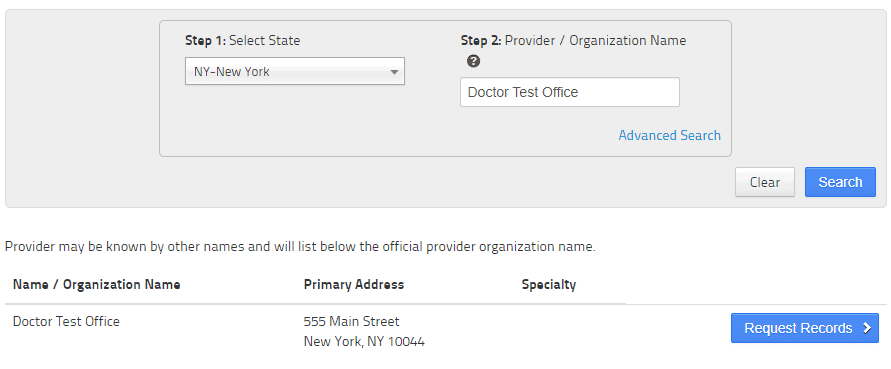
Select up to 20 custodian or provider organizations from whom you’re requesting medical records.
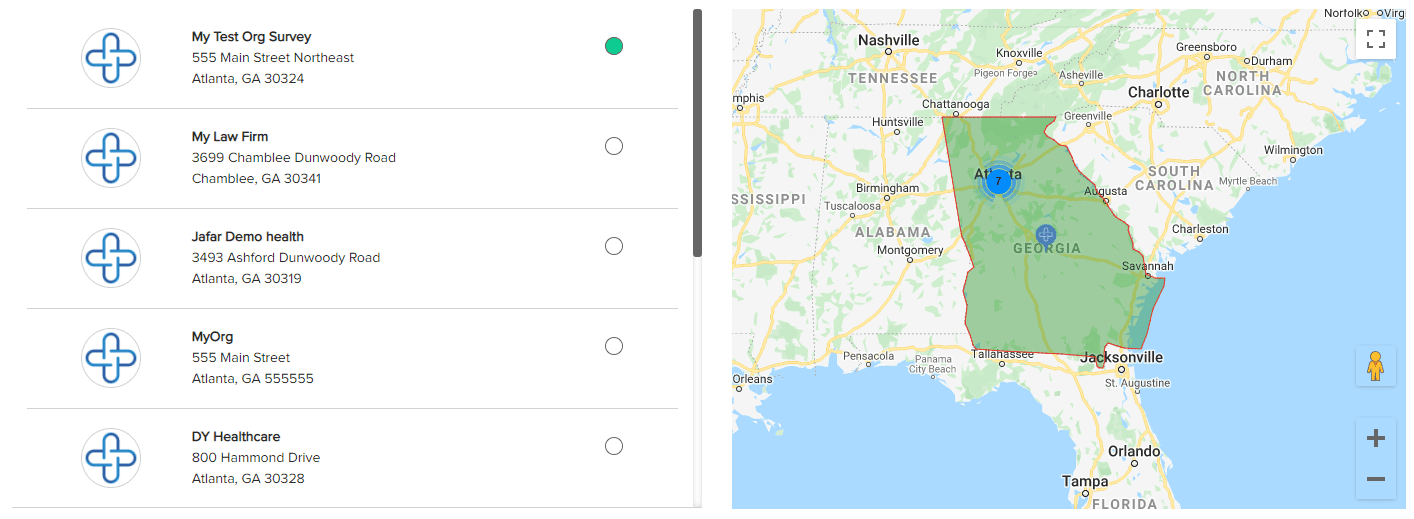
- Enter the state where the custodian is located and/or enter their name and click “Search.” This will give you a list of matching custodians and pull up a map of the results.
- You can filter your search results by “Favorites,” “Nearby,” or “Recent Searches.”
- Applying the filter “Favorites” brings up a list of custodians you’ve added to your “Favorites” list.
- Applying the filter “Nearby” brings up a list of custodians in your vicinity.
- Applying the filter “Recent Searches” brings up a list of recent search results.
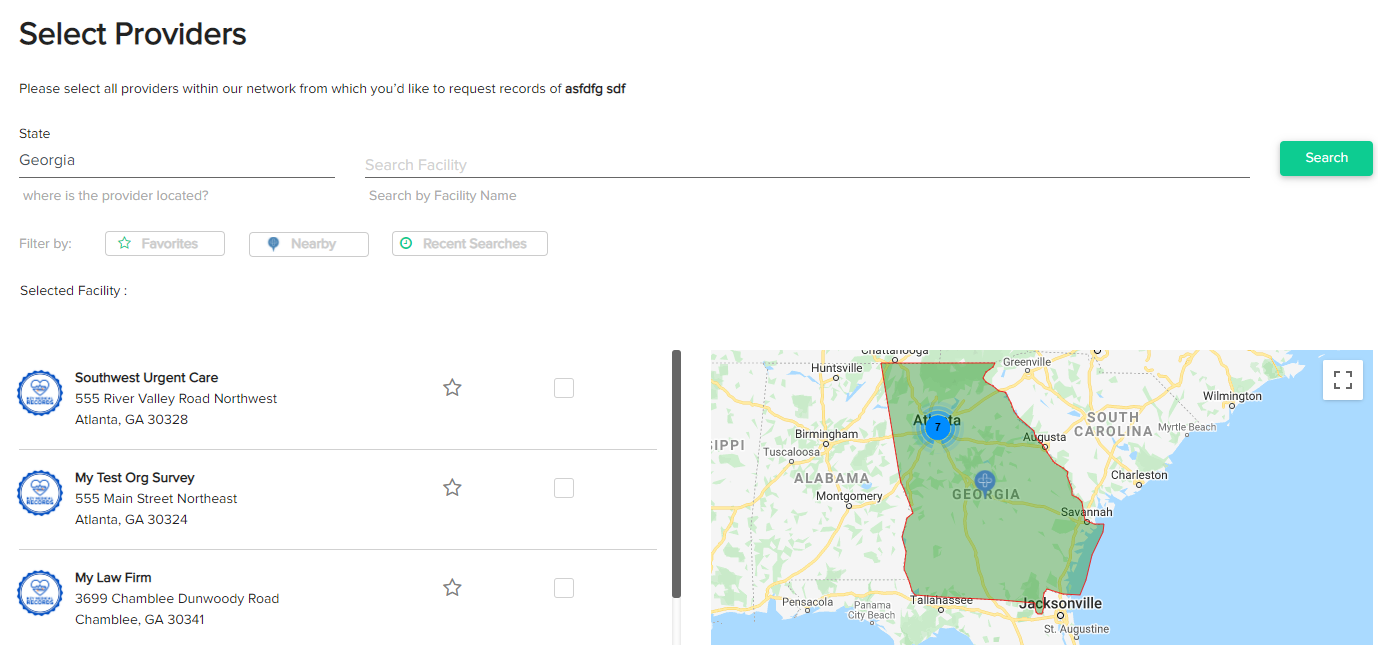
Click the checkbox after a custodian’s name to select it. You’ll see the name(s) of the selected custodian(s) appear after “Selected Facility.”
If you don’t see the custodian you’re looking for, click “Advanced Search” at the bottom of the page. This brings up a form where you can enter the custodian’s city, state, zip, and specialty. You can also apply the filters “Favorites” or “Nearby.” Select the custodian you’re looking for, and click “Done” to continue.
If you still don’t see the custodian after performing an advanced search, click “Suggest a Provider.” This brings up a form that requests the custodian’s organization name, address, fax number, phone number, and email address. Click “Done” to submit the form to our team so we can follow up with the custodian and add them to our network.
If you want to deselect a custodian, you can click the cross mark to the right of the custodian’s name in the gray field at the top of the form. You can also deselect the checkbox next to the custodian’s name in the list of custodians.
Once you’ve selected the custodian(s), click “Continue” to go to the next screen.
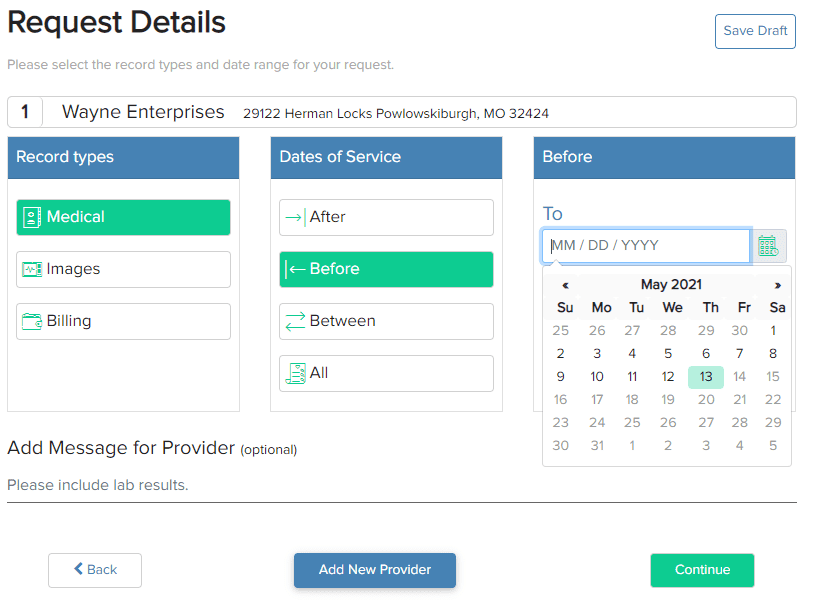
Step 3: Add Request Details
In step 3, you can make request specifications for each of the selected custodians. From here onward, you have the option to save a request as a draft. To do so, click “Save Draft” at the top right of the screen. You’ll be prompted to “Save & Exit,” “Save & Continue,” or “Cancel.”
- Click “Save & Exit” to save the draft and return to the dashboard.
- Click “Save & Continue” to save the draft and continue working on the request.
- Click “Cancel” to exit the dialogue and continue working on the request.
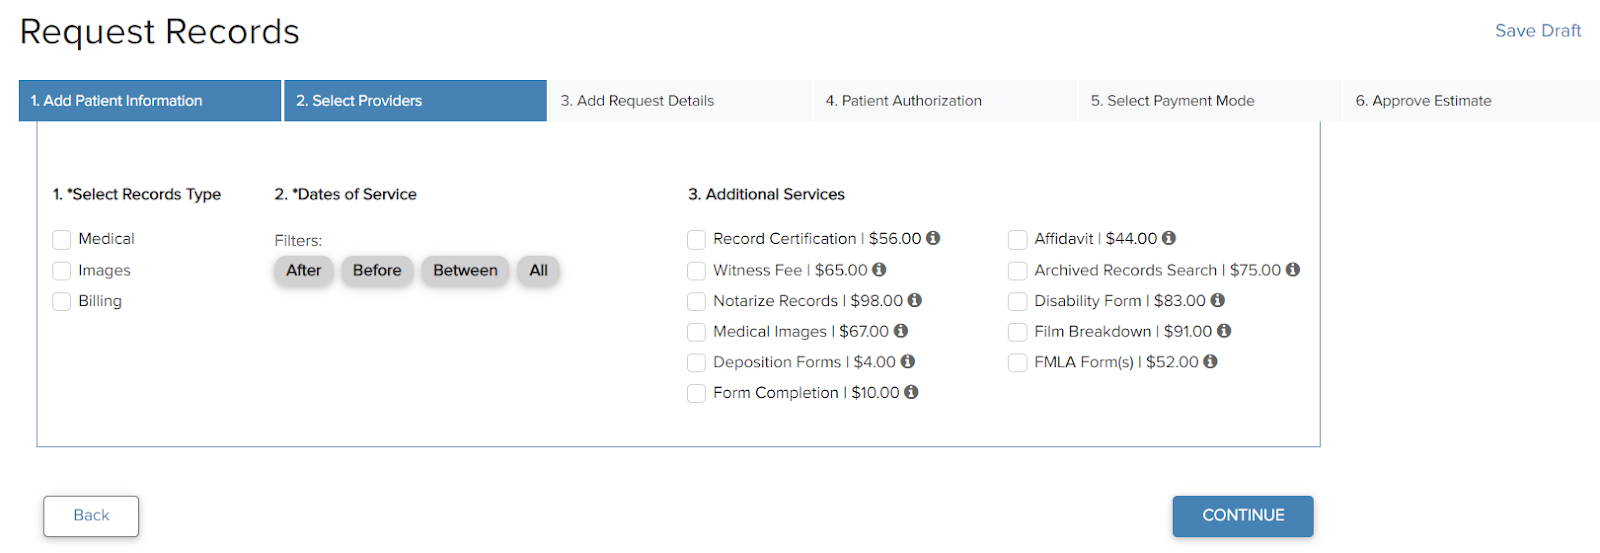
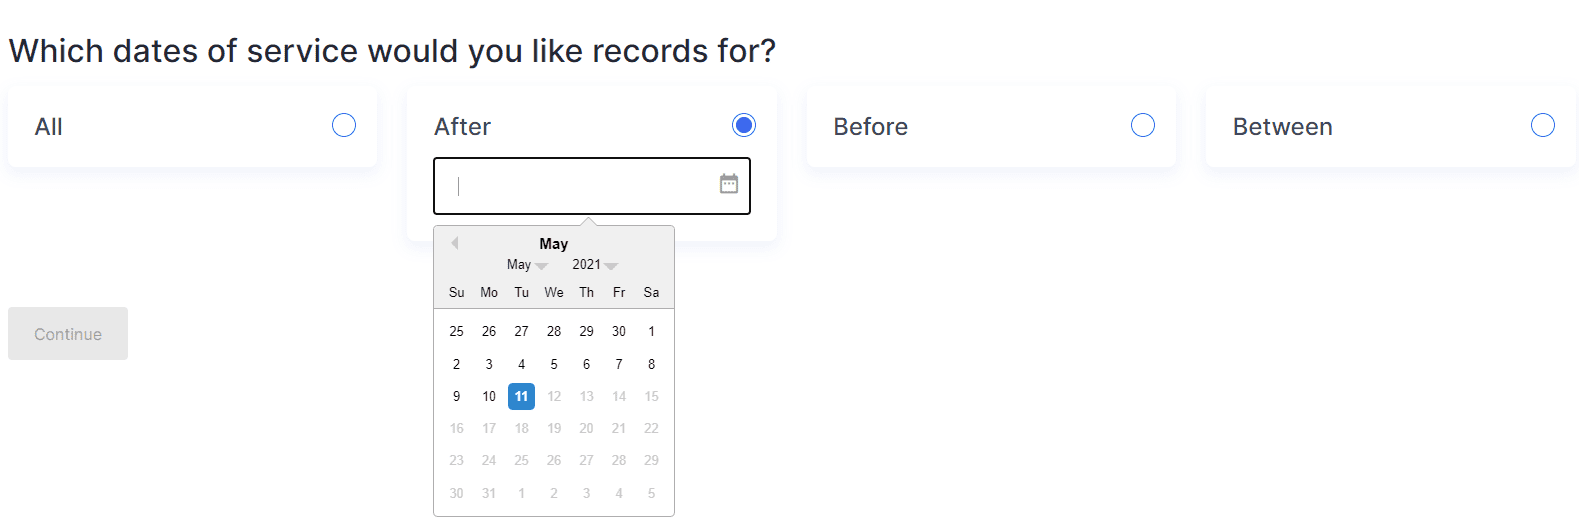
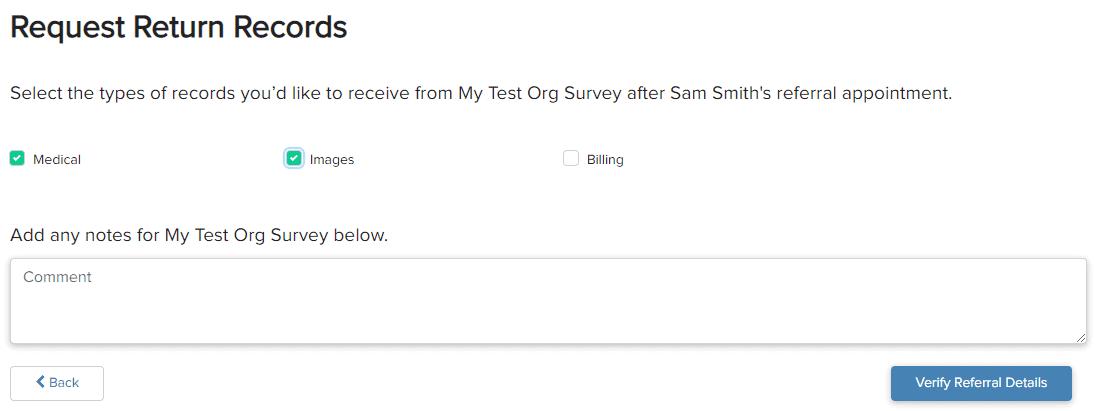
For each custodian, choose the type of records you want (medical, images, and/or billing). Enter the appropriate dates of service in the MM/DD/YYYY format. You can use one of the following modifiers if you need a range of dates:
For the first three options, you can also click the field to bring up a calendar where you can select the appropriate dates. If you need all the patient’s records from this custodian, select “All.”
Select any additional services you’d like to order. Depending on the custodian, you can choose from:
- Record certification
- Witness fee
- Notarize records
- Medical images
- Deposition forms
- Affidavit
- Archived records search
- Disability form
- Film breakdown
- FMLA form(s)
- And more!
For each service listed, you’ll see the corresponding fee. This will be added to your total fee when you complete your order. If you selected “Images” as your records type, the checkbox next to “Medical Images” in the “Additional Services” column will be automatically selected. Click “Next” to complete this field.
Once you’ve clicked “Next,” you’ll be prompted to request specifications for the next custodian on the list. If you want the same types of records from the same date ranges with the same additional services from all custodians, click “Apply Selections to All Providers.”
If you’ve applied the same selection for all custodians on the list but need to change the request details for one, click on the blue downward-facing arrow in the top right corner of the bounding box. The listing will expand, and you can change your request specifications. Click “Next” to go to the next custodian on the list.
If you need to add another provider after making request specifications for the selected custodians, click “Back” to return to the previous screen and add the custodian to your list.
If you haven’t filled out all the request specifications for a selected custodian, the boundary box around it will turn red, and the alert “Please make request specifications for all the providers” will appear at the top of the page. Complete the necessary fields to continue.
When you’ve filled out all the request specifications for each custodian, click “Continue” to proceed to the next screen.
Choose your preferred delivery method between electronic download or fax return. Keep in mind that some custodians may not offer fax returns or downloads. In this case, your final invoice will be adjusted based on custodian preferences, and your order may be delivered via an alternative method.
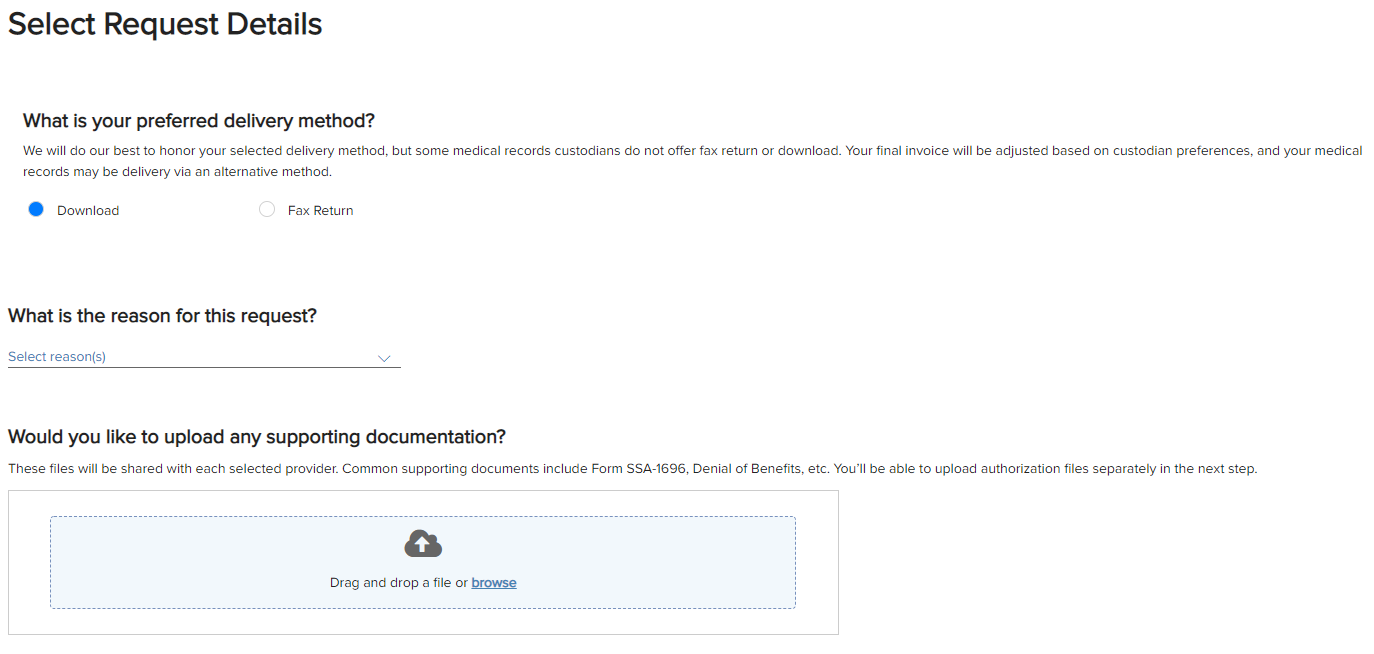
Enter the reason(s) for the request. Click on the button next to “Select reason(s) to pull up a scroll list of reasons. You can select:
- Change of insurance coverage
- Disability determination (DDS)
- Life insurance
- Litigation
- Moving from area/ Transfer of records
- Work/camp/school forms
- Second medical opinion
- Social security
- Transfer of care/ Changing doctors
- Personal injury
- Medical malpractice
- Worker’s compensation
- Risk adjustment/ Medicare Advantage
- Risk adjustment/ Commercial exchange
- Risk adjustment/ RADV
- Risk adjustment/ Medicaid
- HEDIS
- Claims review
- Continuity of care/ Referral
- ERE
- Other
- Care Coordination
You’re required to select at least one reason, and there’s no limit to the amount you may choose. When you select a reason, it will appear in a gray field next to “Select reason(s).” If you want to deselect a reason, click on the cross mark in the gray field to the right of the reason.
Note that once you’ve selected a reason, you have to keep at least one selected in order to continue. If you only select one but it is incorrect and you want to deselect it, add the correct reason to the list before you deselect the incorrect reason.
If you want to share any additional information about the request with the custodian, you can leave a comment in the following field.
Click “Continue” to proceed to the next screen.
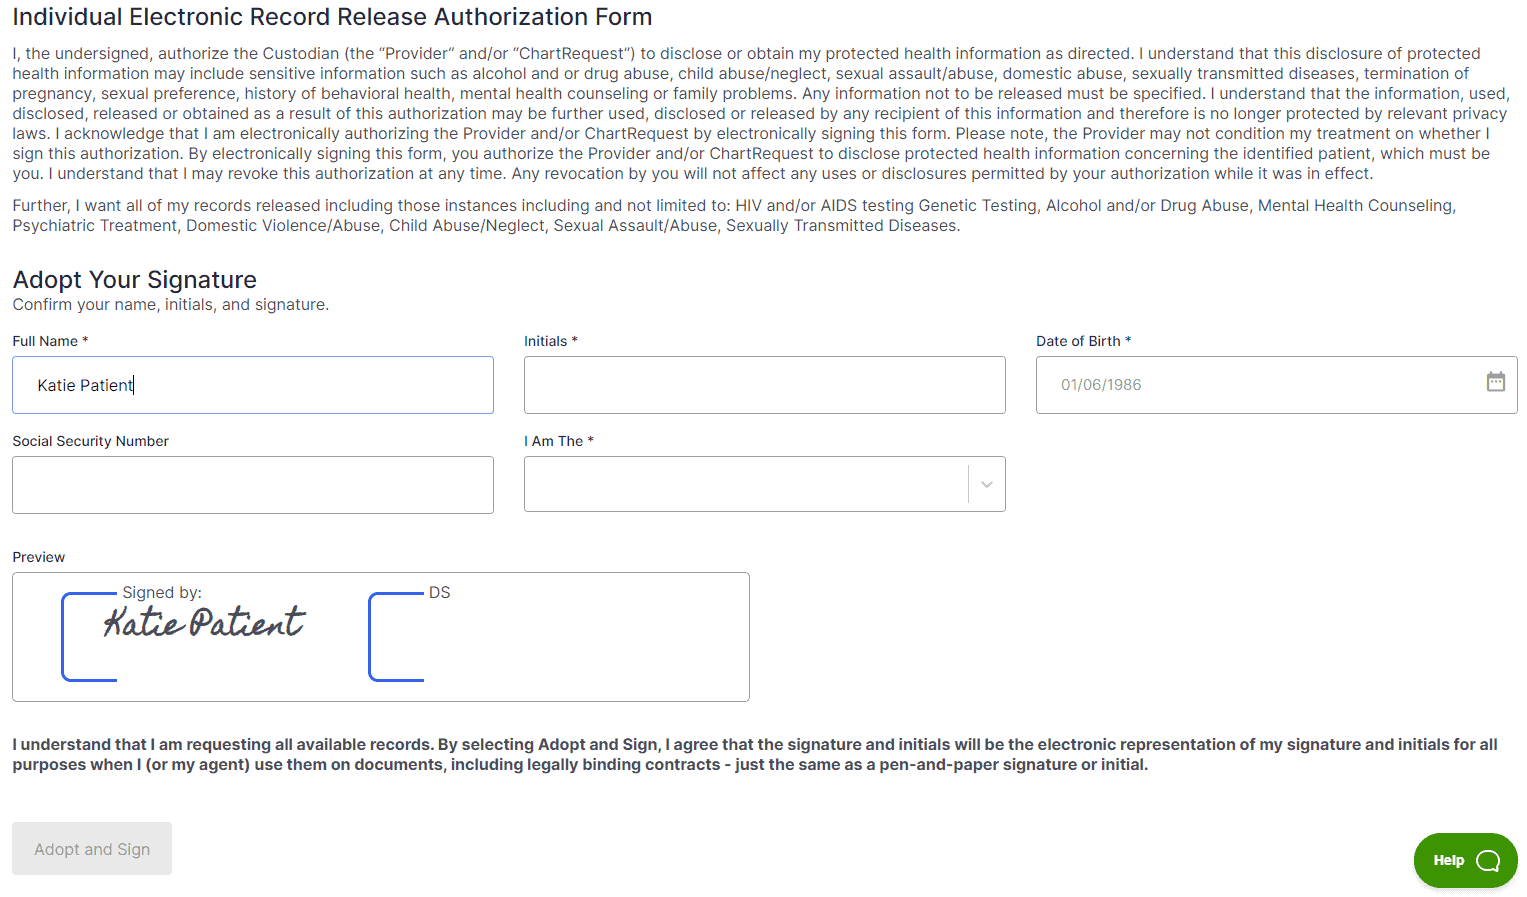
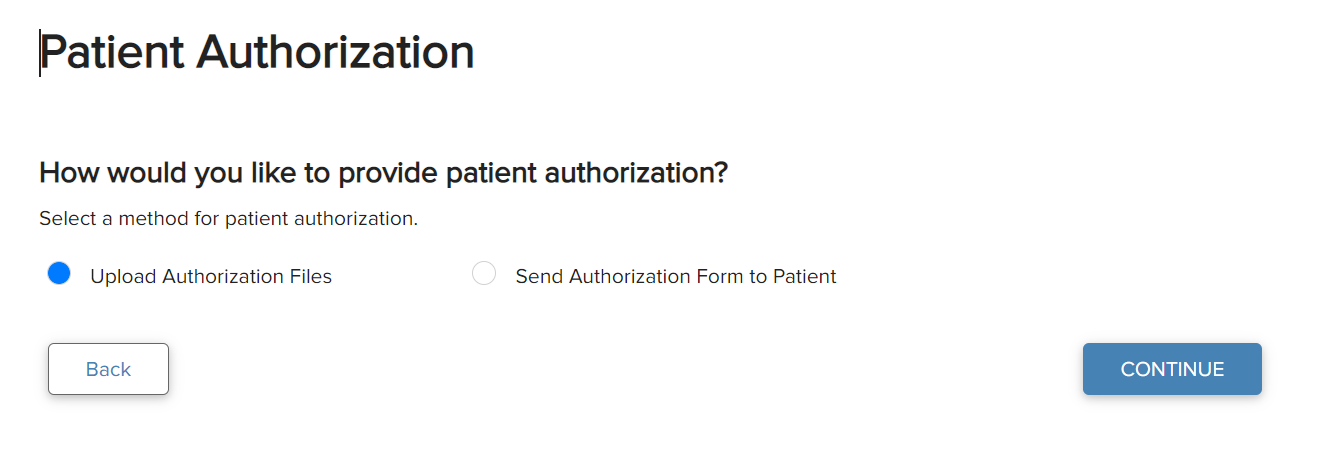
Step 4: Add Authorization
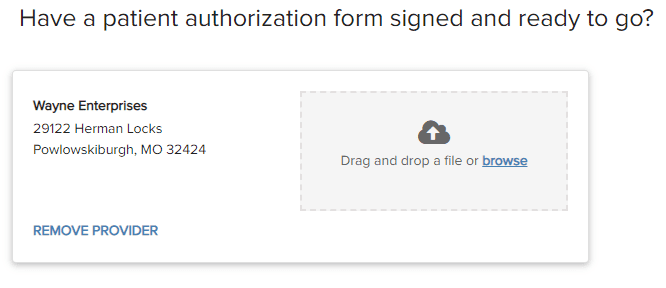
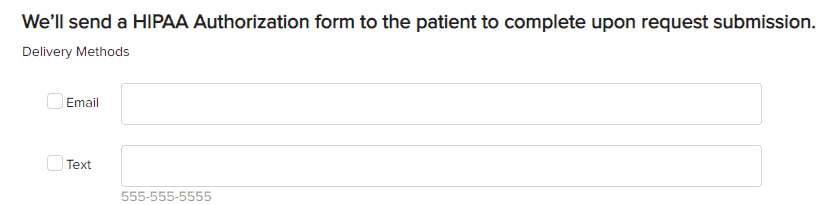
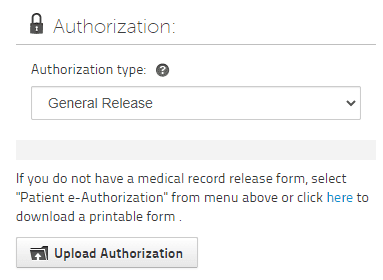
In step 4, you’ll be prompted to submit a patient authorization form for each custodian from whom you’re requesting records. You may either upload an authorization file or send the patient a form to electronically authorize
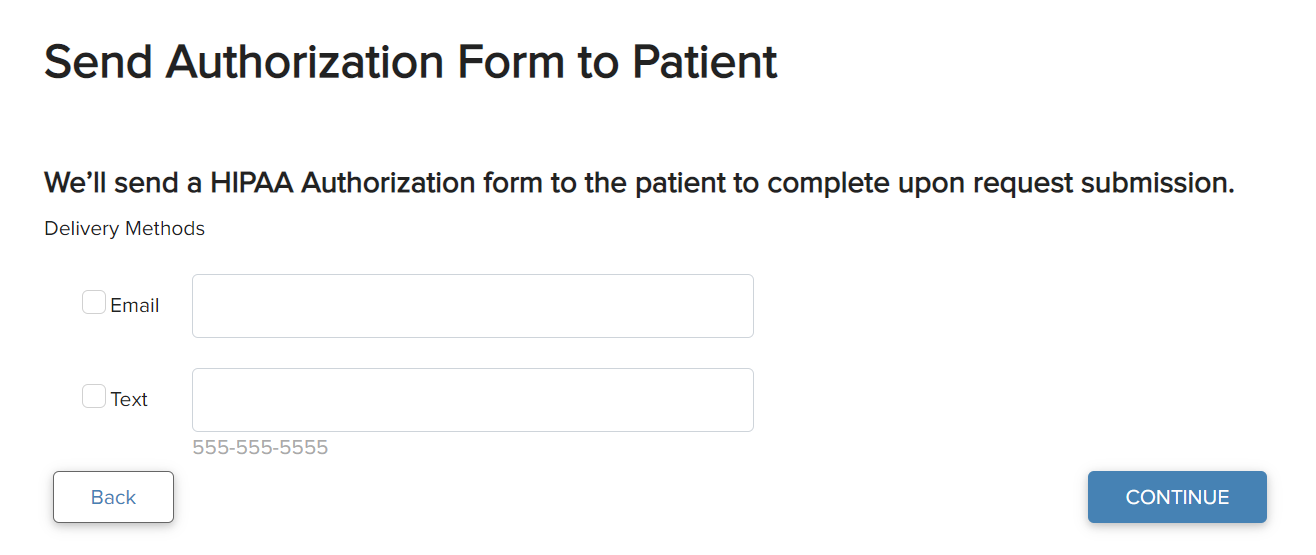
If you choose to send the patient the authorization form, simply select the mode(s) of delivery and enter the appropriate contact information.
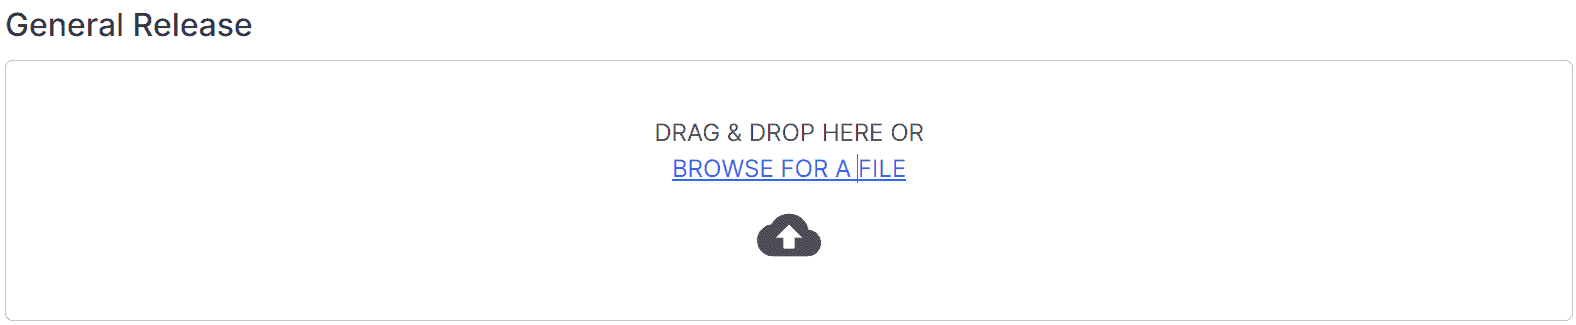
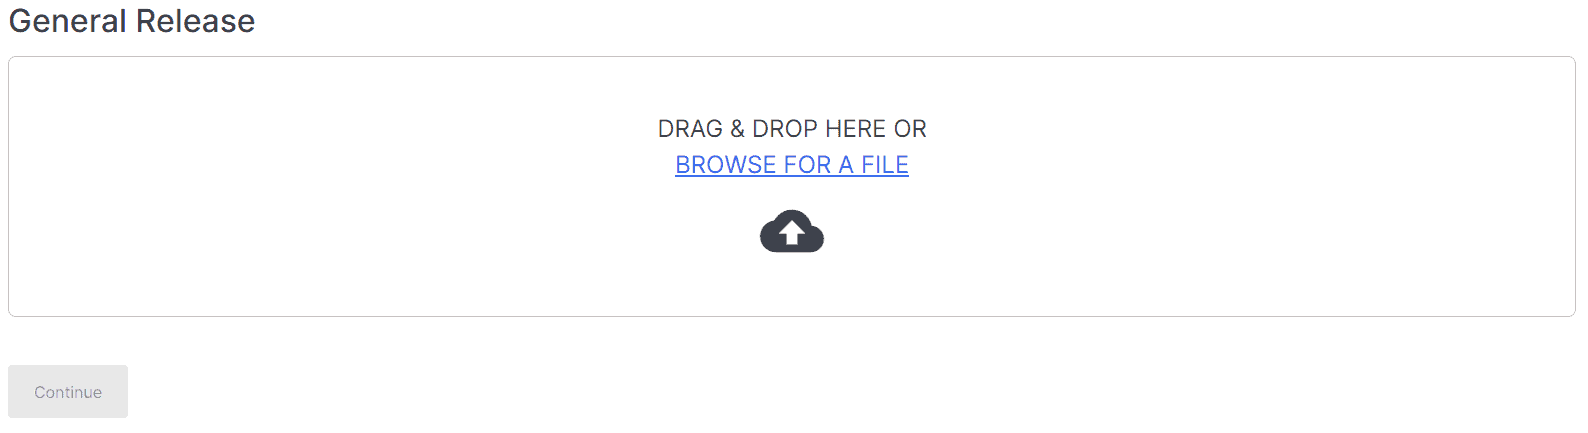
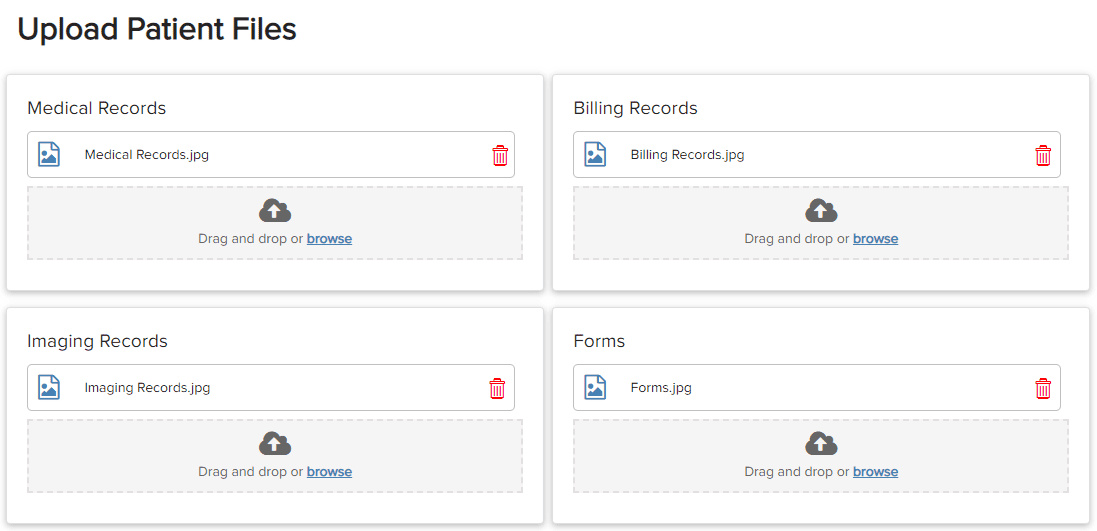
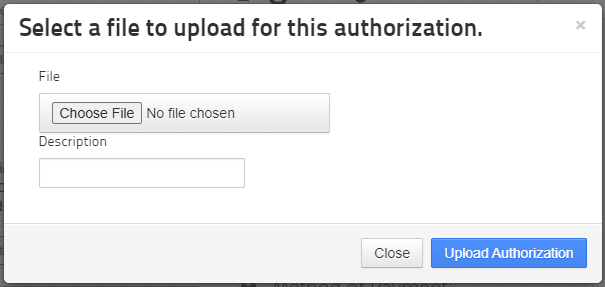
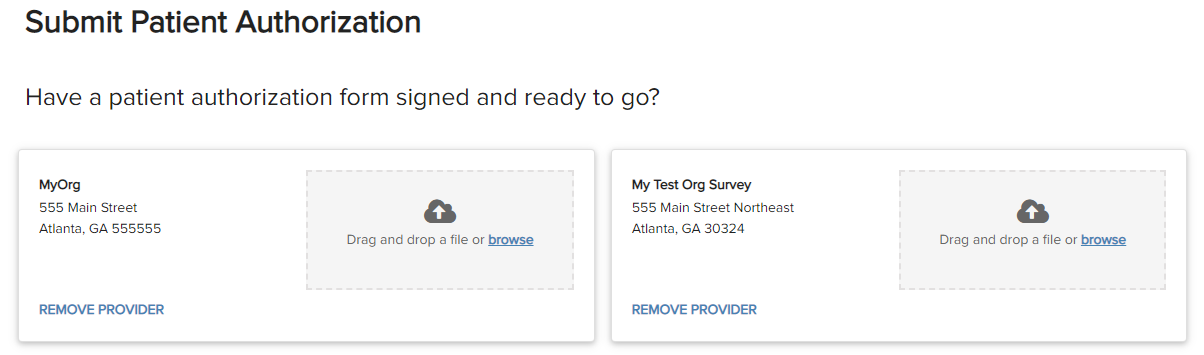
If you choose to upload a patient authorization form, drag and drop the file onto the appropriate field. You can also click “Browse” to open a file explorer window and “Select” to add the authorization form from your computer.
You’ll be prompted to choose what type of authorization it is. Examples include the following:
- Workers’ compensation claim
- State social security authorization
- Subpoena duces tecum
- General release
- Patient e-authorize.
An authorization can be the following types:
- PDF: .pdf
- Sheet: .csv, .xls, or .xlsx
- Image: .png, .jpg, .tiff, or .bmp
- Media: .mov, .avi, or .mov
- Doc: .doc, .docx, .rtf, or .txt
If you uploaded the wrong file, click the red trash can icon to delete it and confirm. If you no longer want to request records from one of the custodians, click “Remove Provider” and confirm.
Once you’ve uploaded authorizations for all custodians on your list, click “Continue” to proceed to the next screen.
Step 5: Select Payment Mode
In step 5, you’ll be prompted to select a payment method. You can pay by check or by credit card.
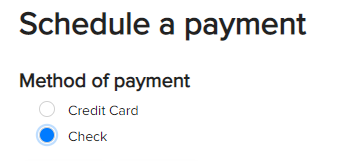
If you wish to pay by check, select “Check” and click “Continue” to go to the next screen. When the request is filed and the status changes to priced, you’ll receive an invoice with the final amount that’s due. Instructions for mailing the check will be included with the invoice, and your records will be released once payment is received.
If you want to pay by credit card, click “Add New Credit Card.” In the gray field that appears, enter your credit card number, expiration date, and the CVV code. Click “Save Card” to continue. You can add multiple credit cards this way.
If you click a saved credit card, you’ll notice it turns blue and three options will appear beneath: “Add New Credit Card,” “Delete Credit Card,” and “Share Card With Organization Users.” To share your credit card with all members of your organization or delete it, choose the appropriate option.
Click “Continue” to proceed to the next screen.
Step 6: Approve Estimate
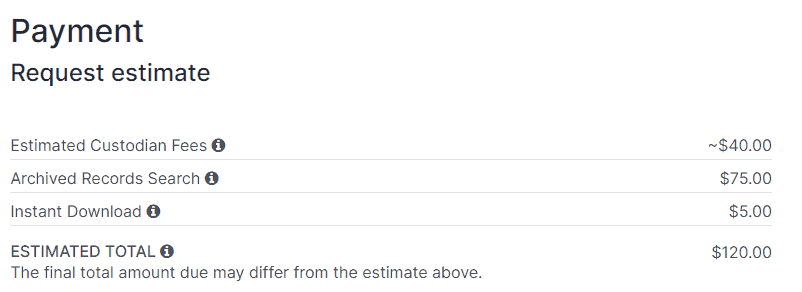
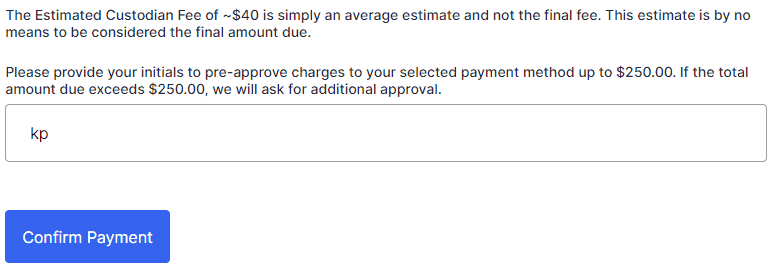
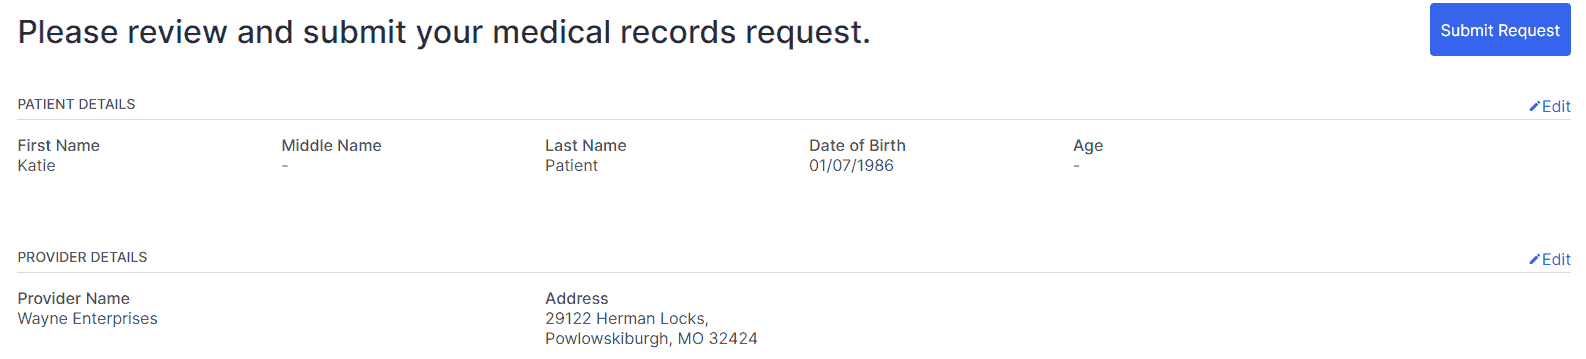
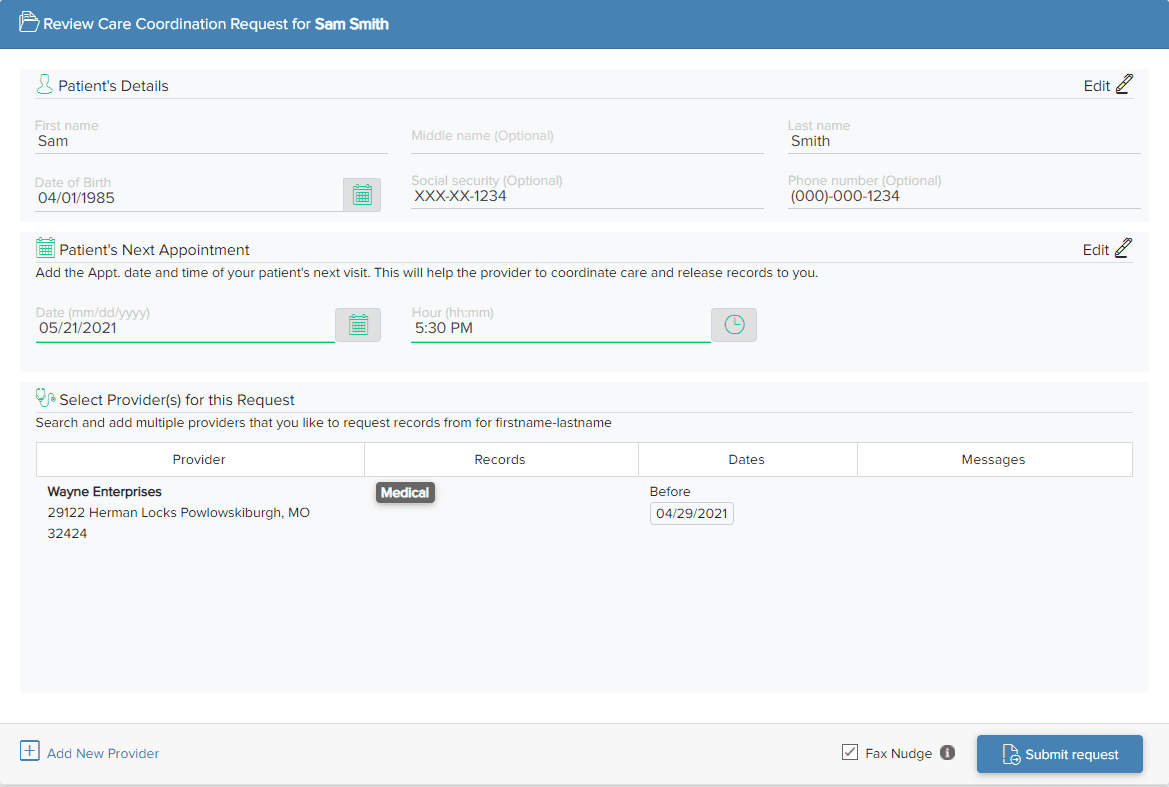
Your estimated total will appear on the next screen. Click the downward arrow to the right of the estimate for a breakdown of the cost. Note that due to varying custodian and record fees, the final amount may differ from this estimate. Click “Review Request” to go to the next screen.

If you need to make any changes to the request, click “Edit” next to the relevant field(s). You will be able to revise the selected fields, and you’ll be brought back to the review screen when you’re finished.
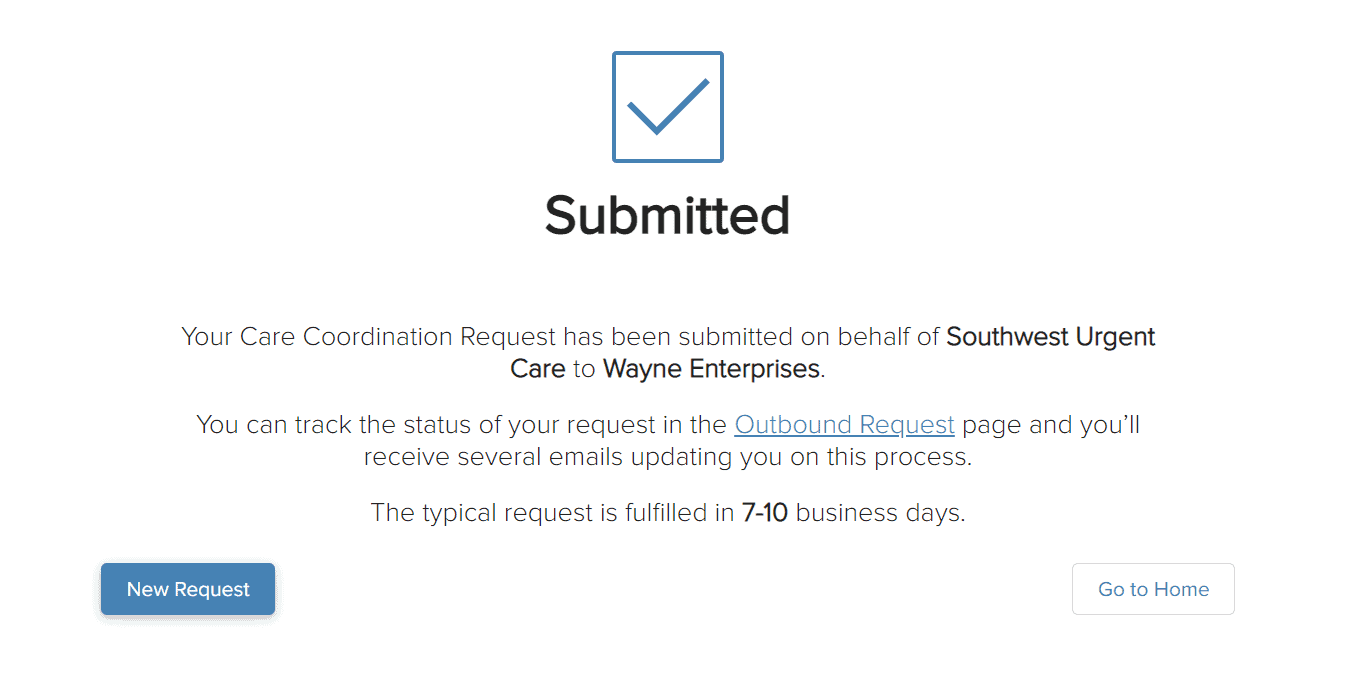
Once the request has been reviewed, click “Submit Request” to submit your request and confirm in the pop-up box. On the next screen, you’ll see a confirmation that your request has been submitted.
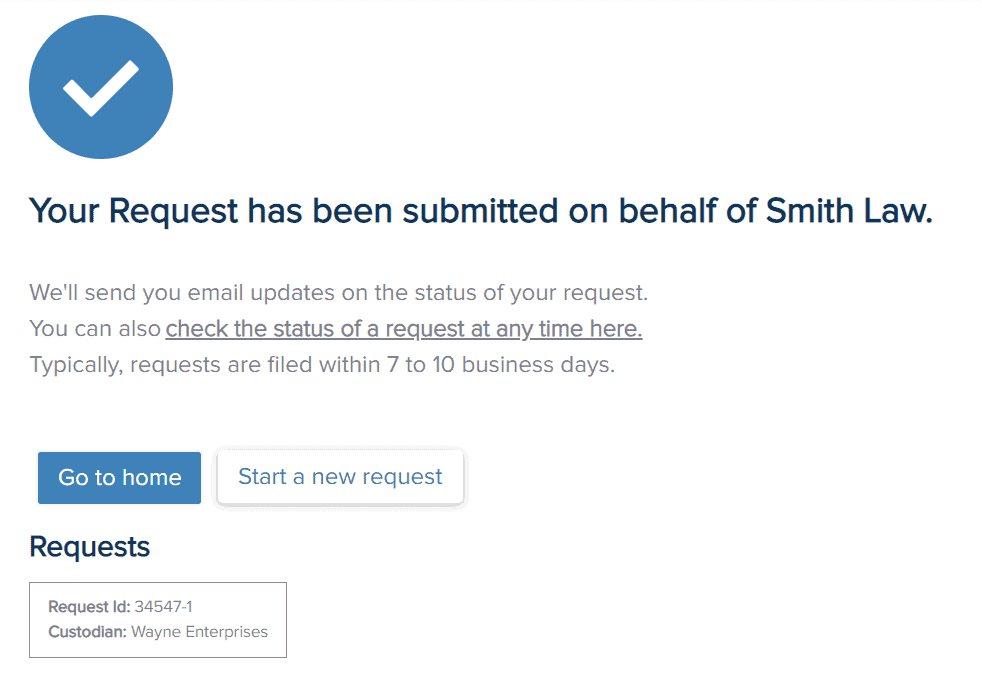
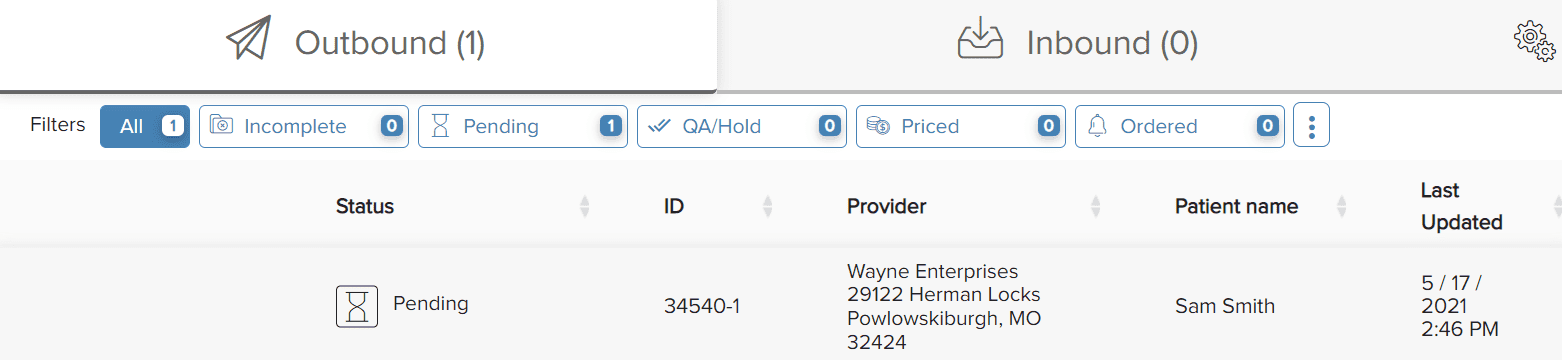
Your request will automatically be assigned a request ID number. If you submitted requests to more than one custodian during this session, there will be an ID for each individual request. Requests are listed by ID number in the hub.
ChartRequest sends automatic email updates regarding the status of your request. Regular requests are fulfilled within 7-10 business days and rush requests within 48 hours. There may be additional delays in special cases, such as requests that require an archived record search.
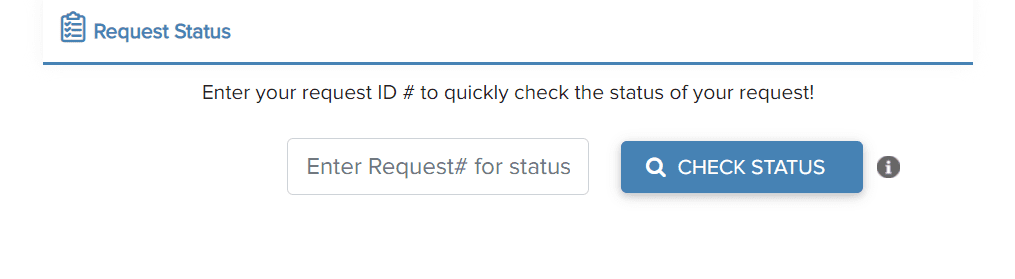
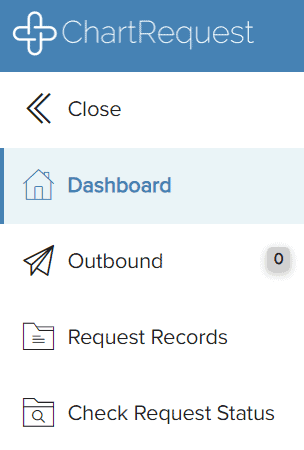
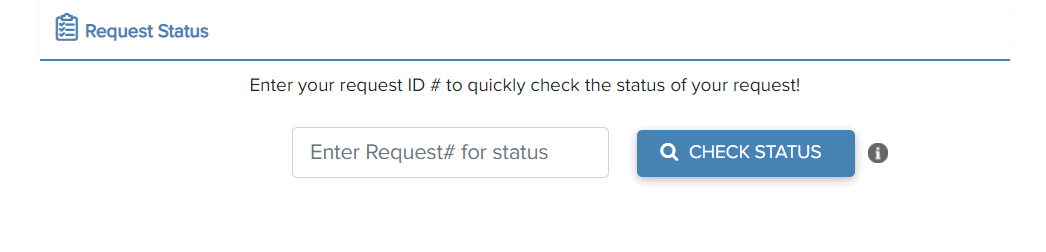
You can check the status of a request any time by going to the dashboard and clicking “Check Status.” Alternatively, you can visit app.chartrequest.com/status.
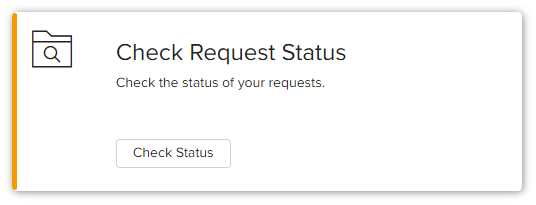
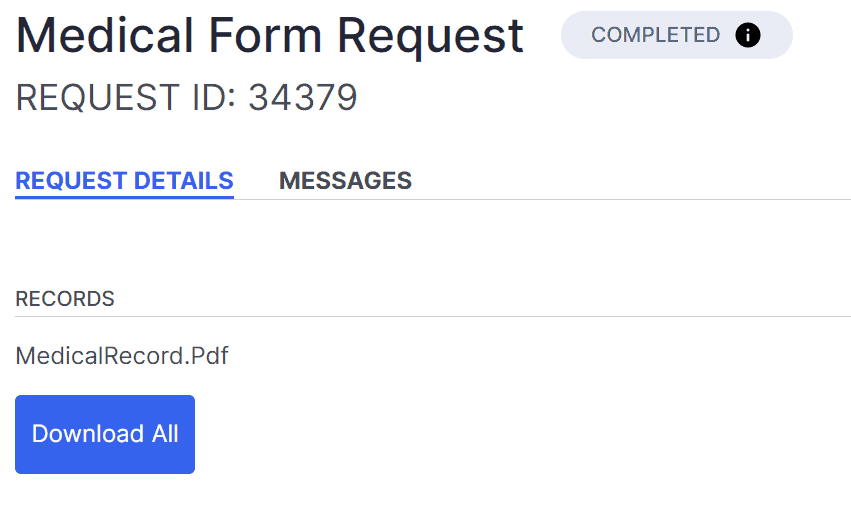
Enter the request ID number and click “Check Status.” You’ll see a linear graph representing the progress of your request. The circle will be green for each step completed and gray for those still pending.
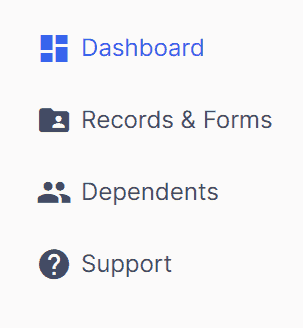
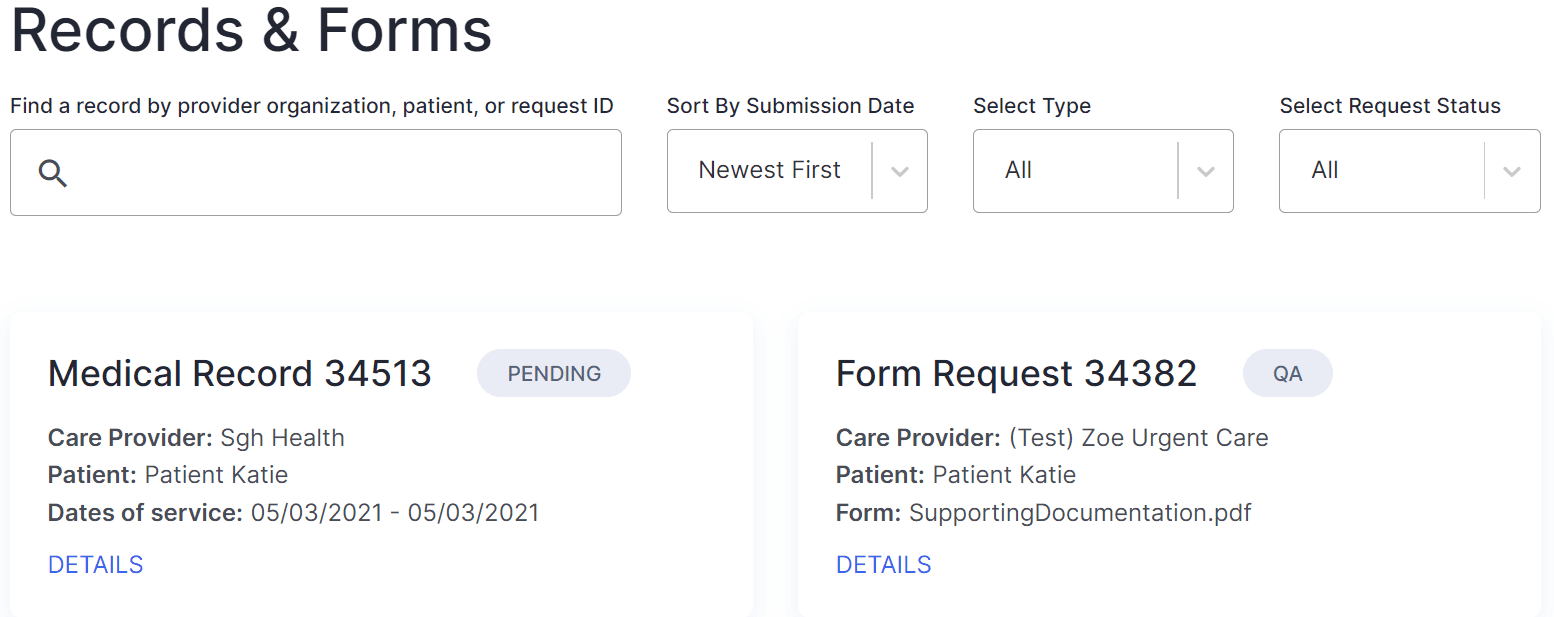
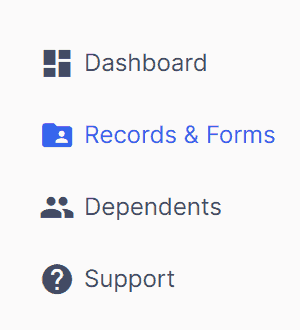
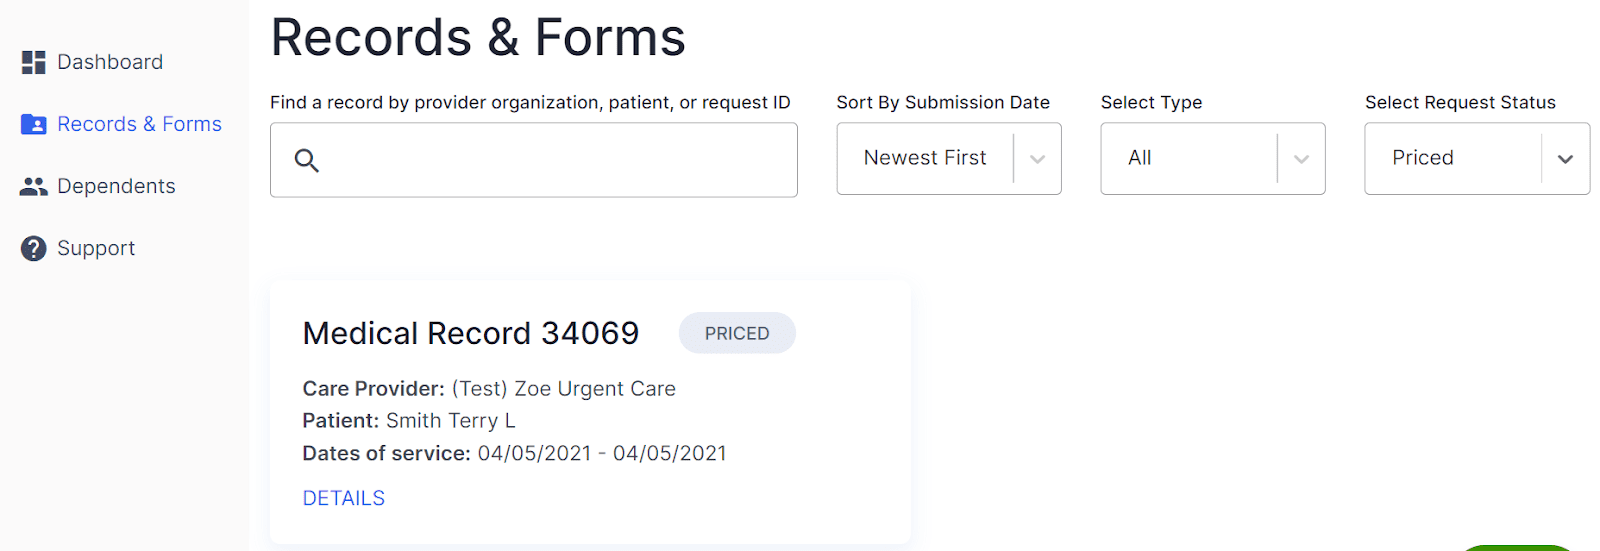
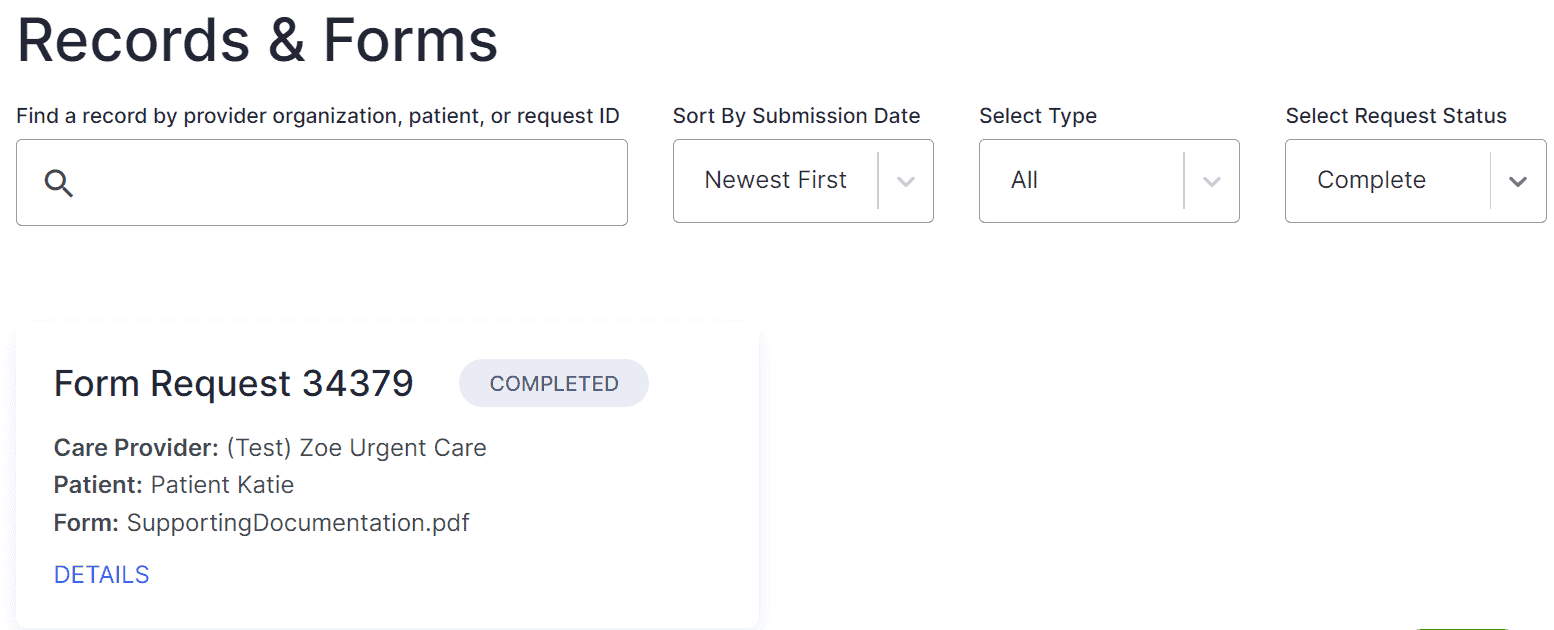
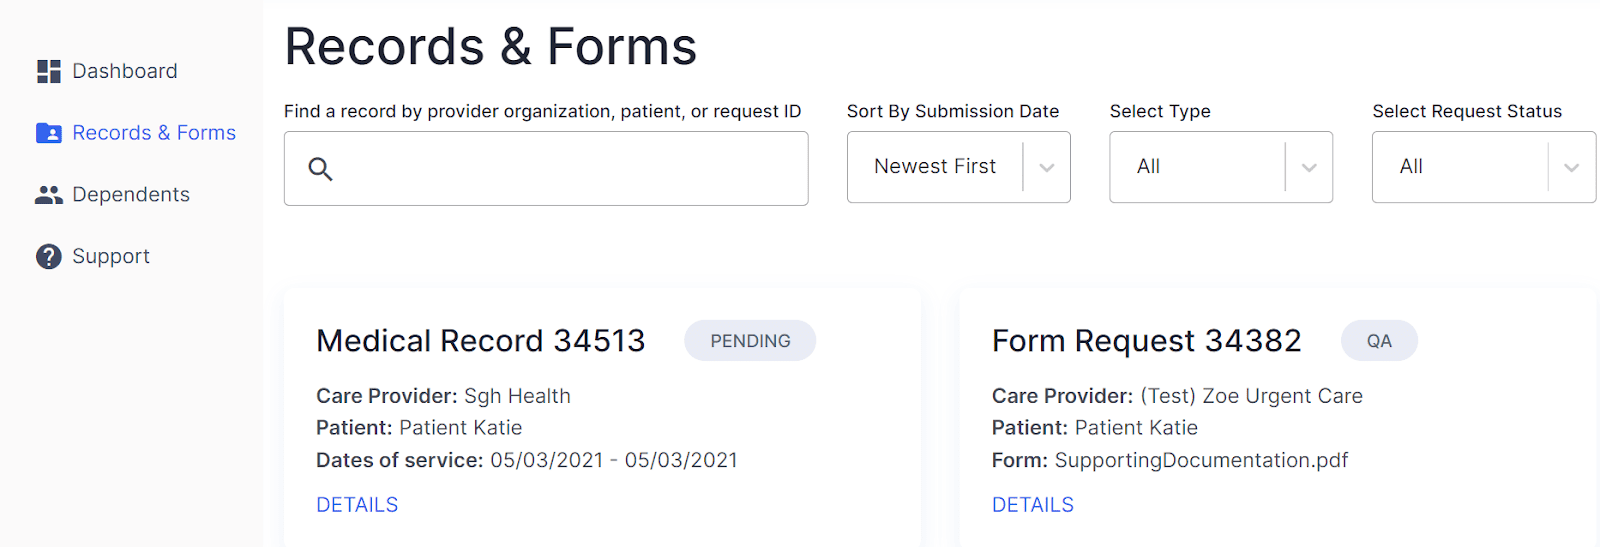
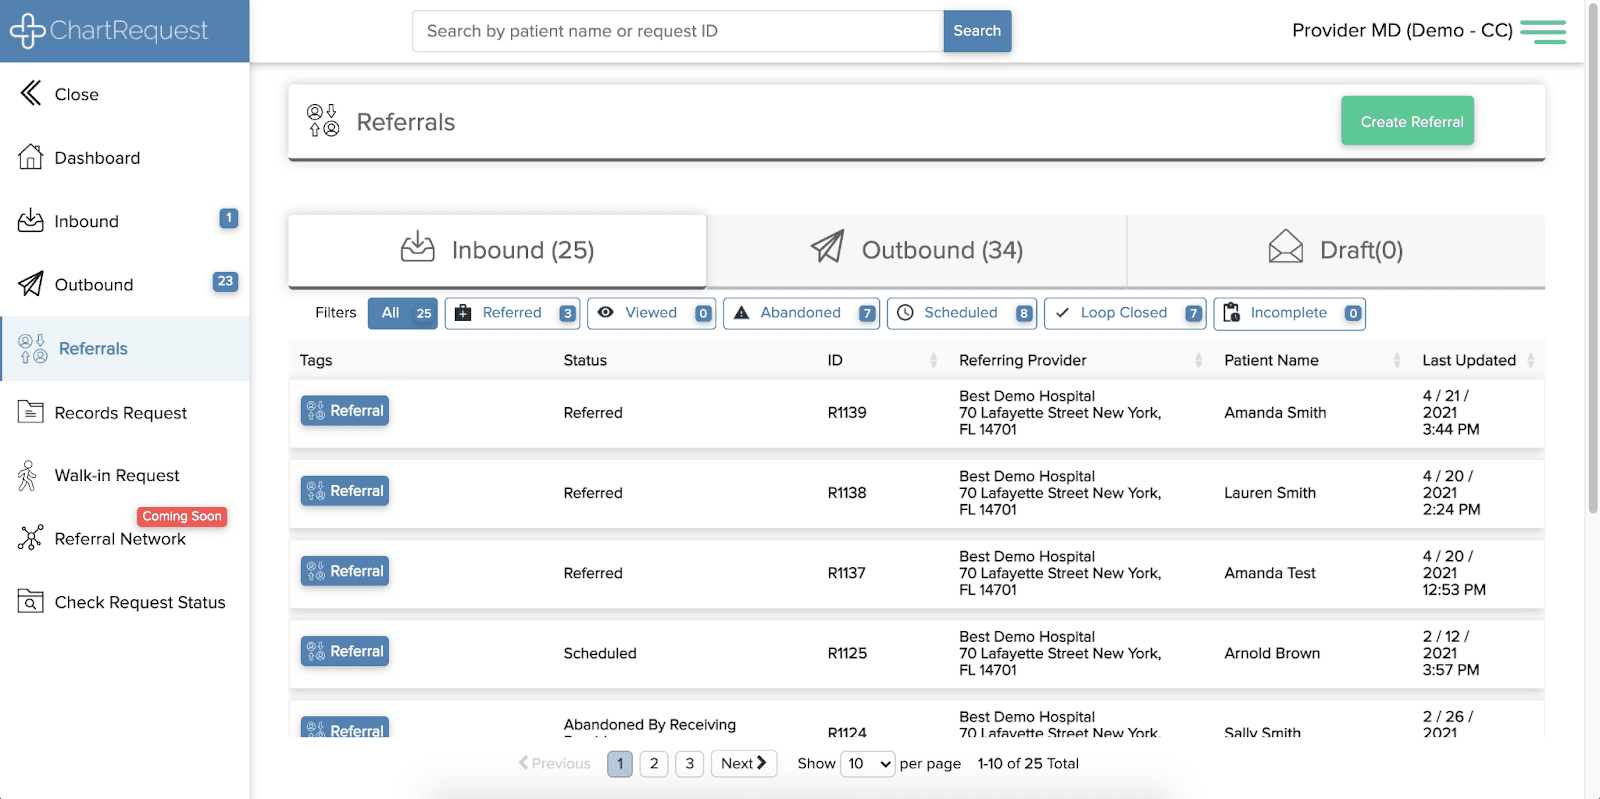
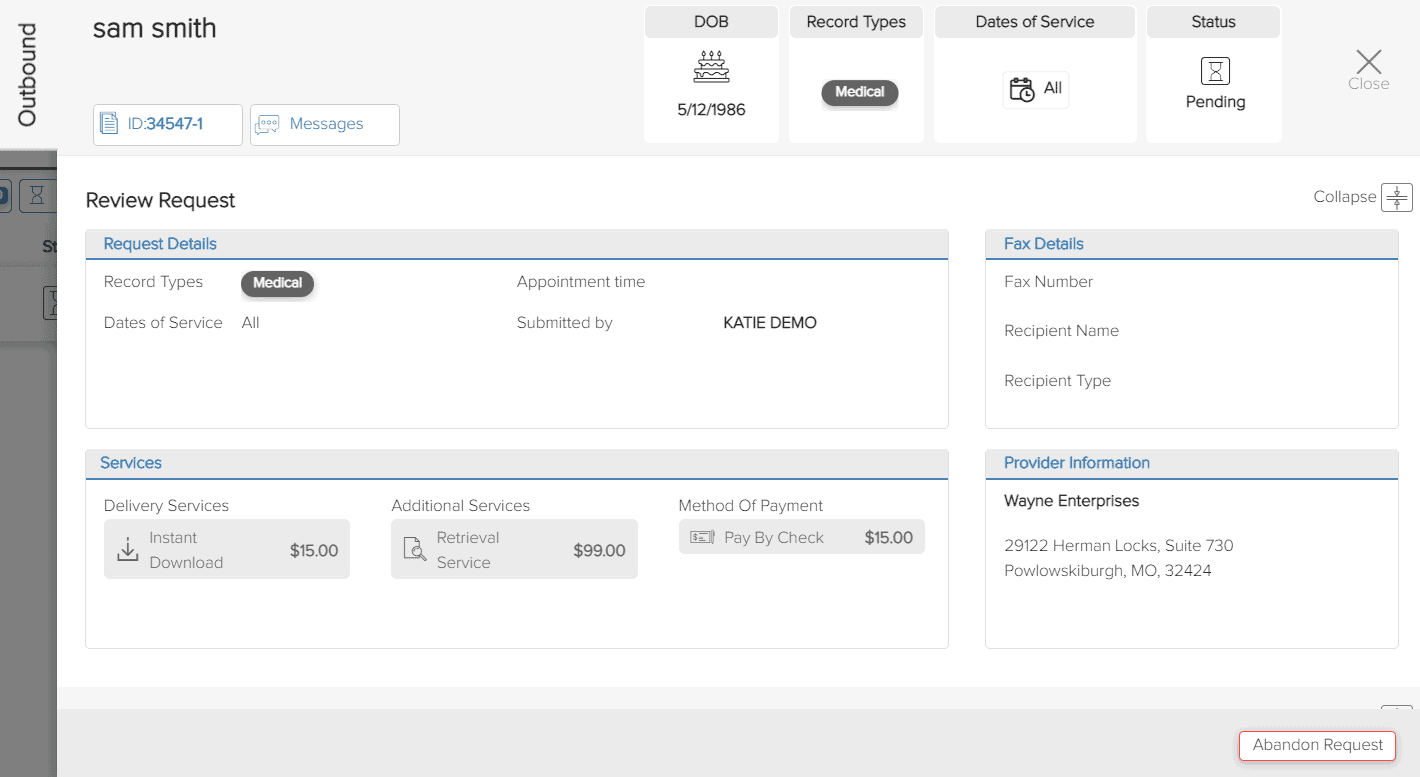
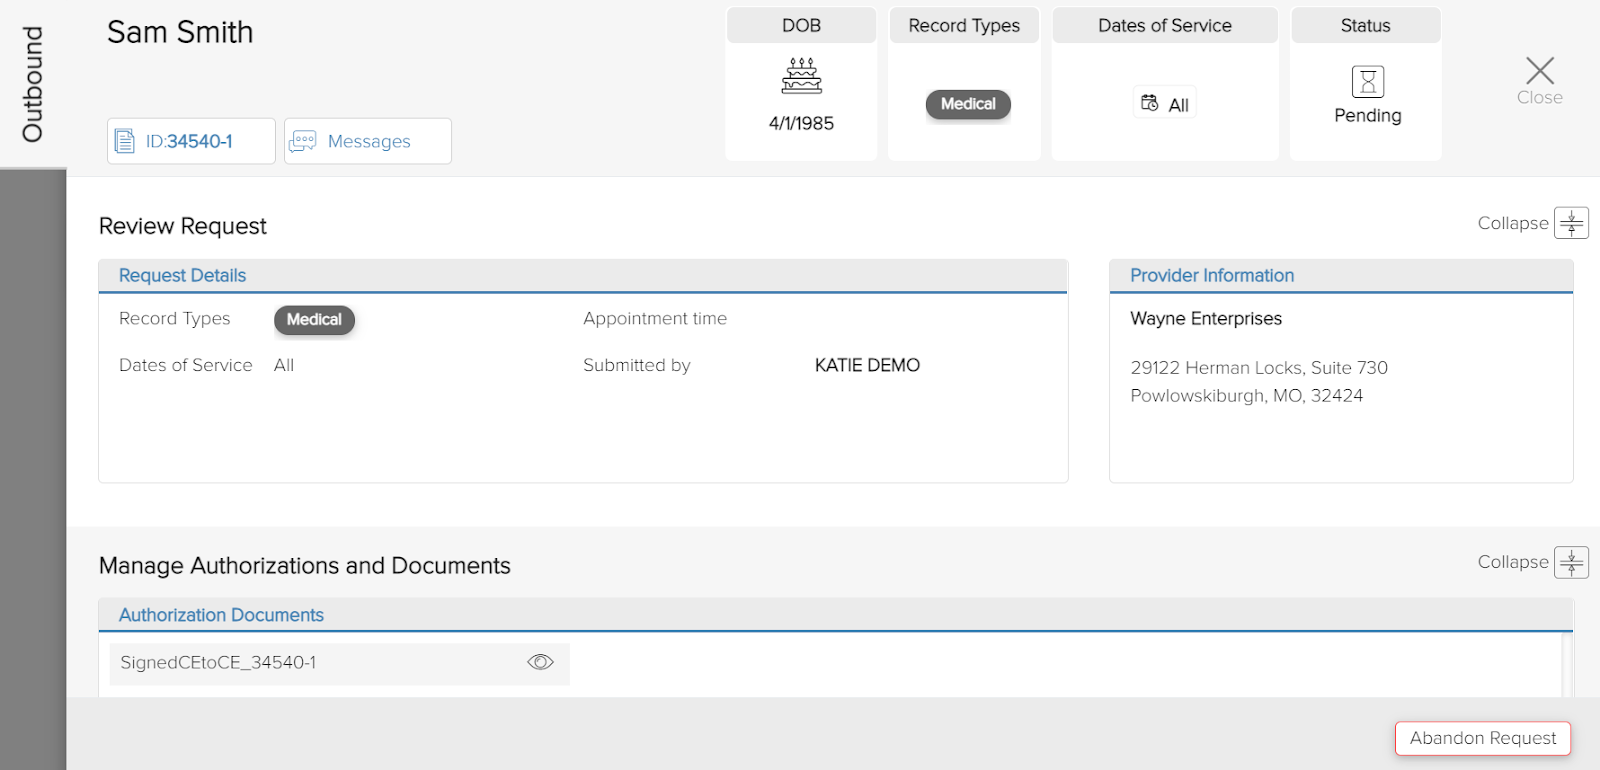
If you want to review a request after you’ve submitted it, view your “Outbound” requests either on the “Dashboard” or the “Outbound Requests” tab in the sidebar. Each request will have the current status listed under the “Status” column. You may also use the “Select Request Status” filter to find all requests of that specific status.

Here you can view the request details. If you would like to abandon the request, click “Abandon Request.” A request is automatically abandoned if it isn’t fulfilled within 90 days.
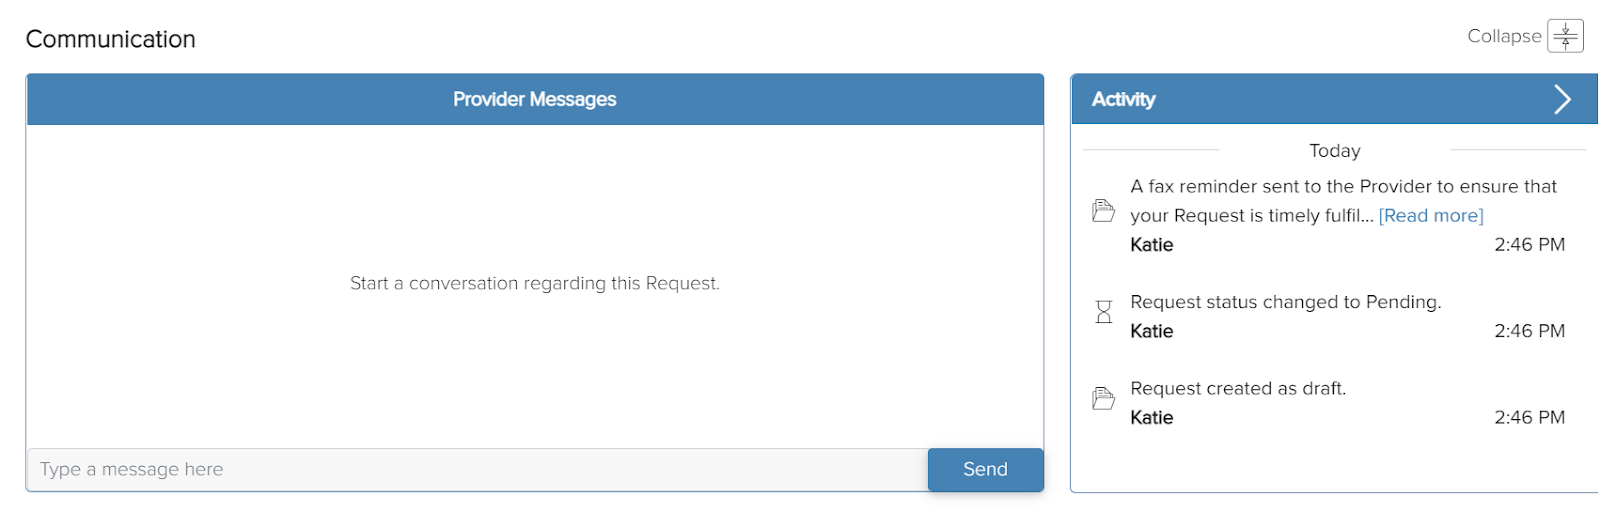
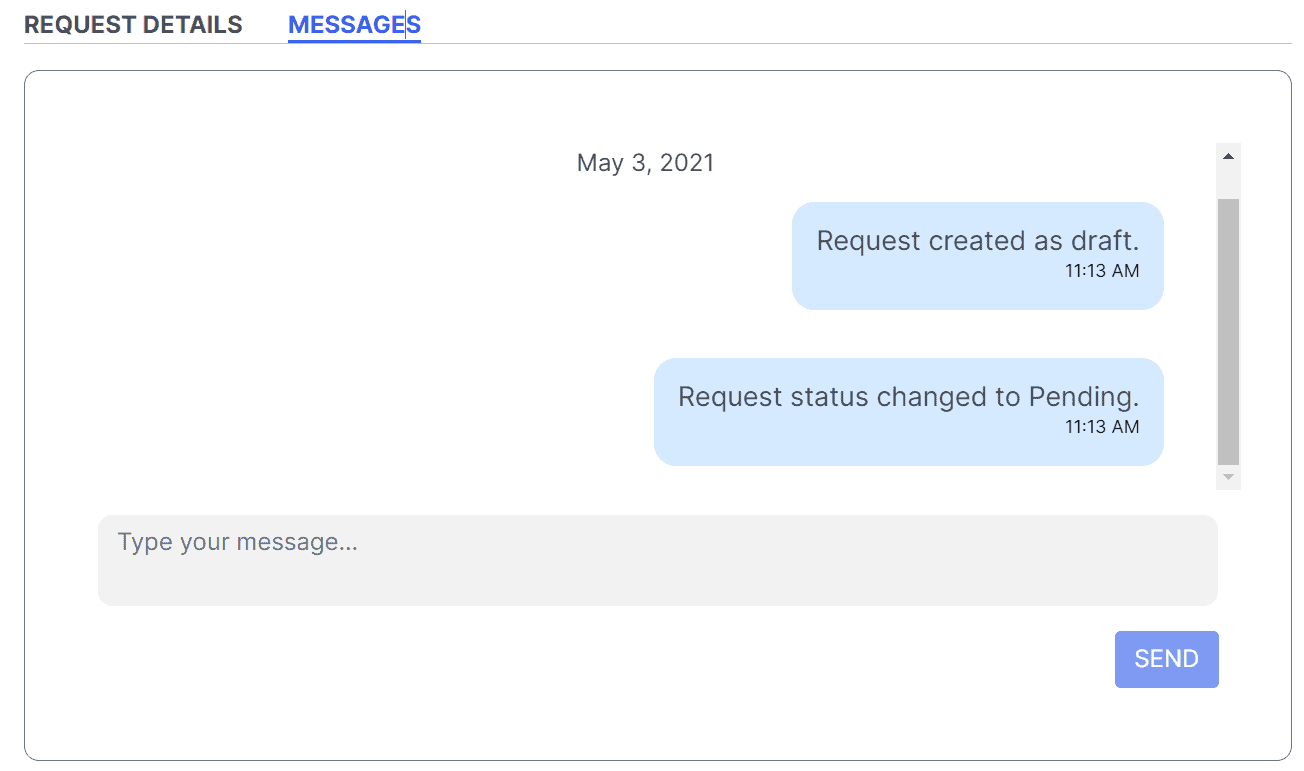
You can also either click “Messages” or scroll down to the bottom of the page to reach the “Communication” window. Click “Activity” to open a log of every update regarding your request. To interact directly with the provider, you can use the “Provider Messages” box to send any questions or details.